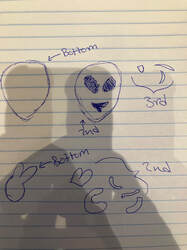
Pre-Sketch
Step-By-Step
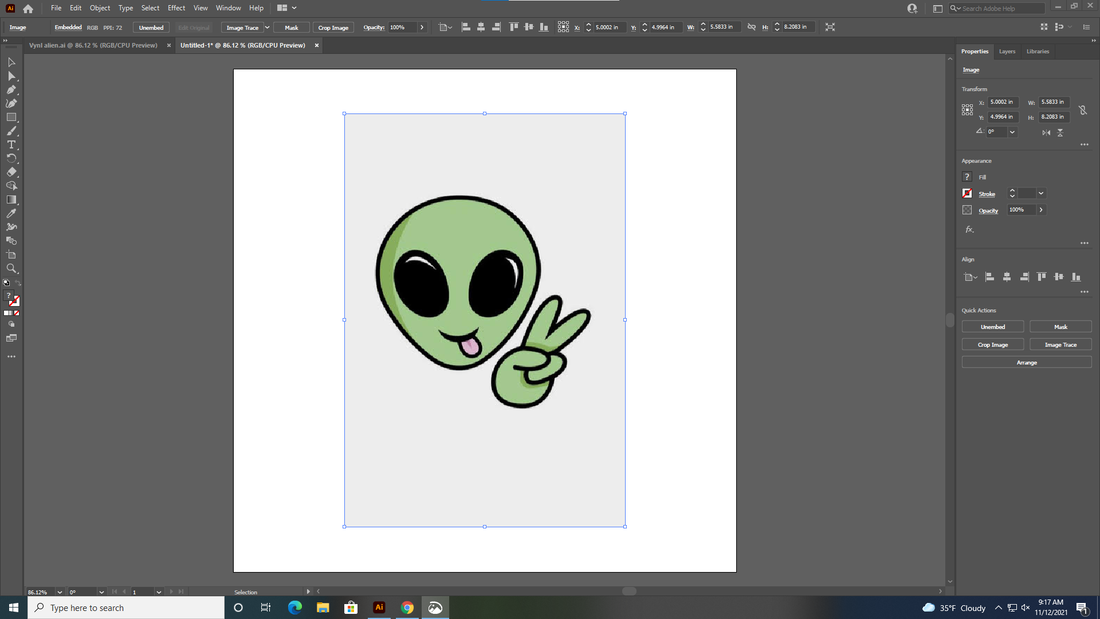
First I copied and pasted the image I wanted to use into illustrator.
|
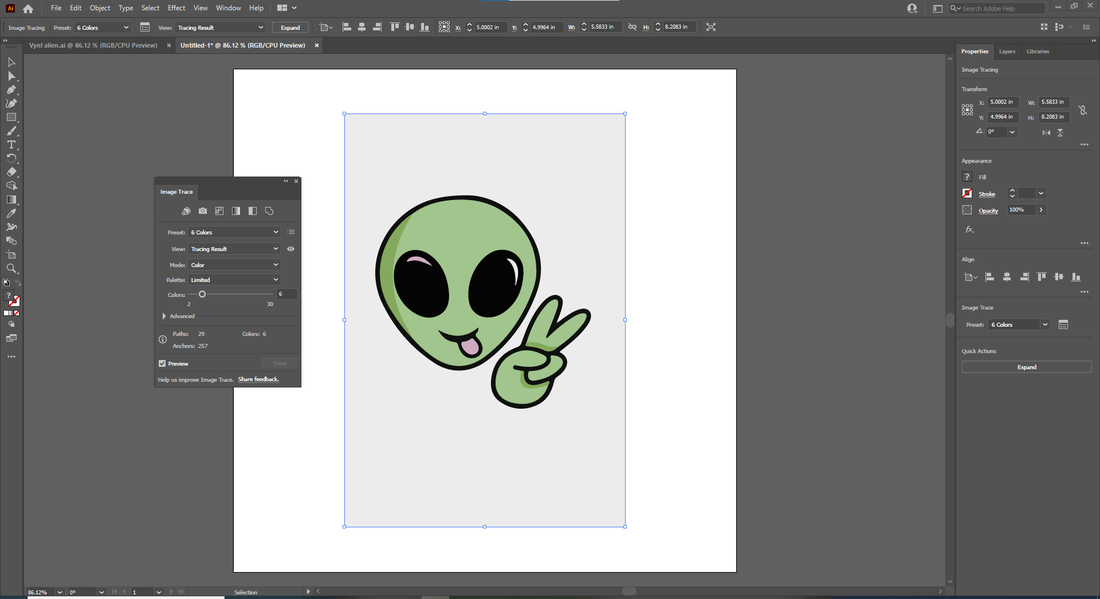
Then I clicked image trace and 6 colors so that all of the pieces of the image would separate.
|
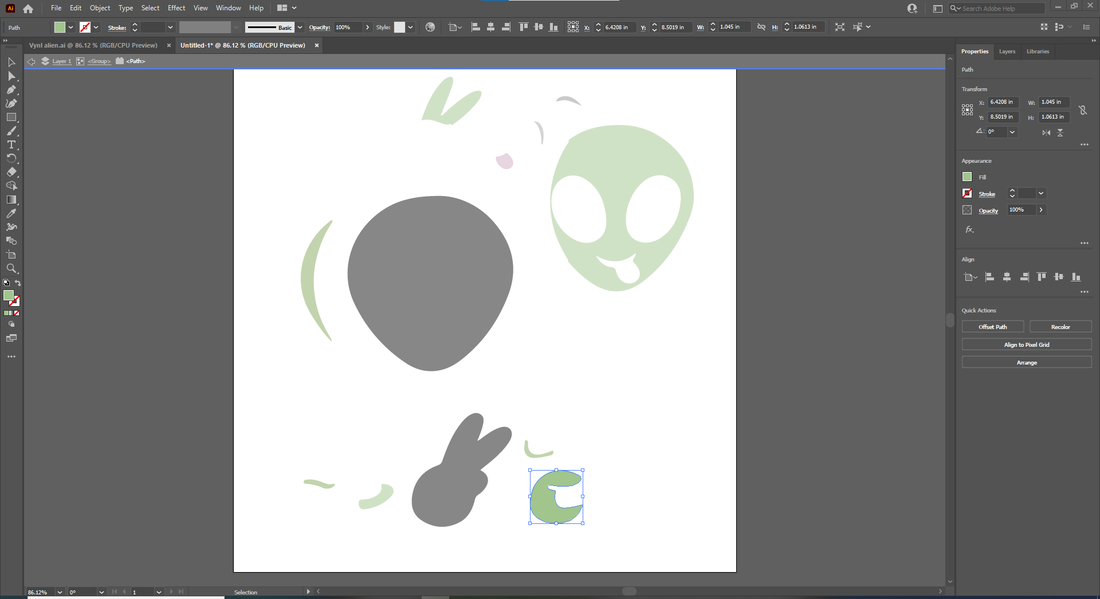
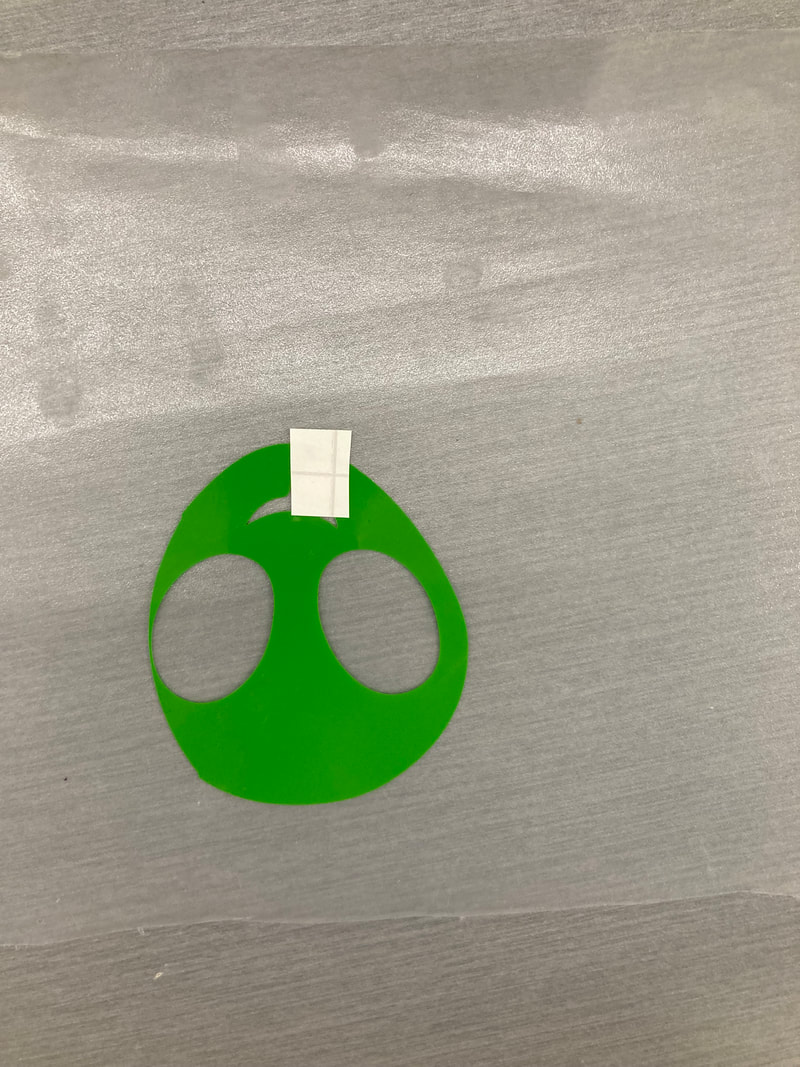
After that I separated all of the pieces and deleted the things I didn't need.
|
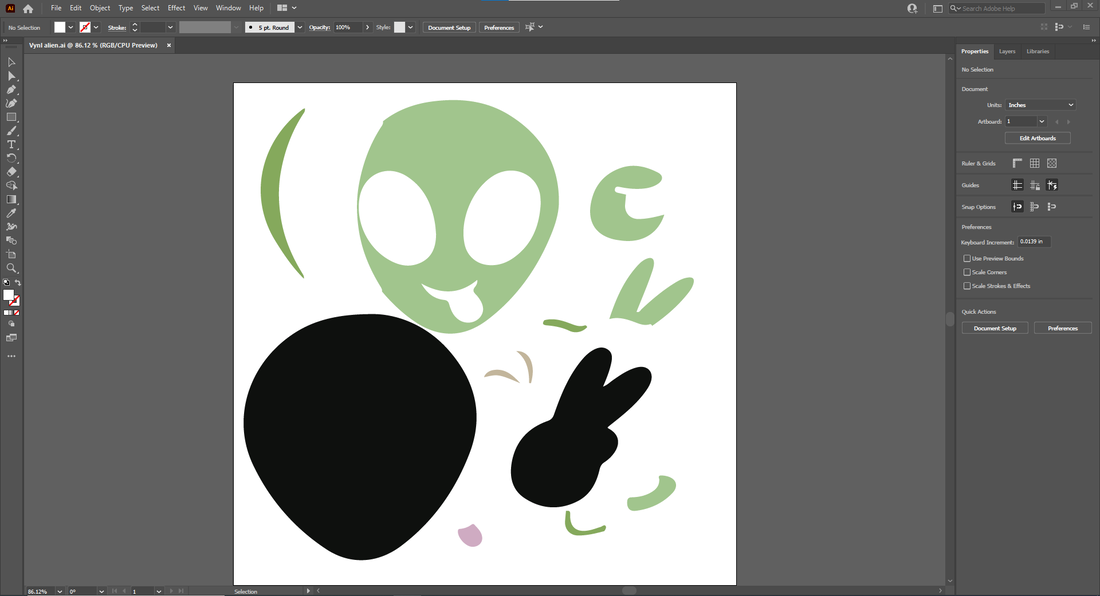
Finally I was ready to print.
|
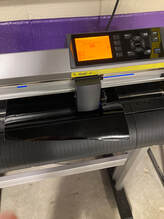
I put the color of vinyl I wanted into the vinyl cutter. Then pressed No. 1 and enter. I repeated that for every piece of the decal I needed to cut.
|
Preparing Decal

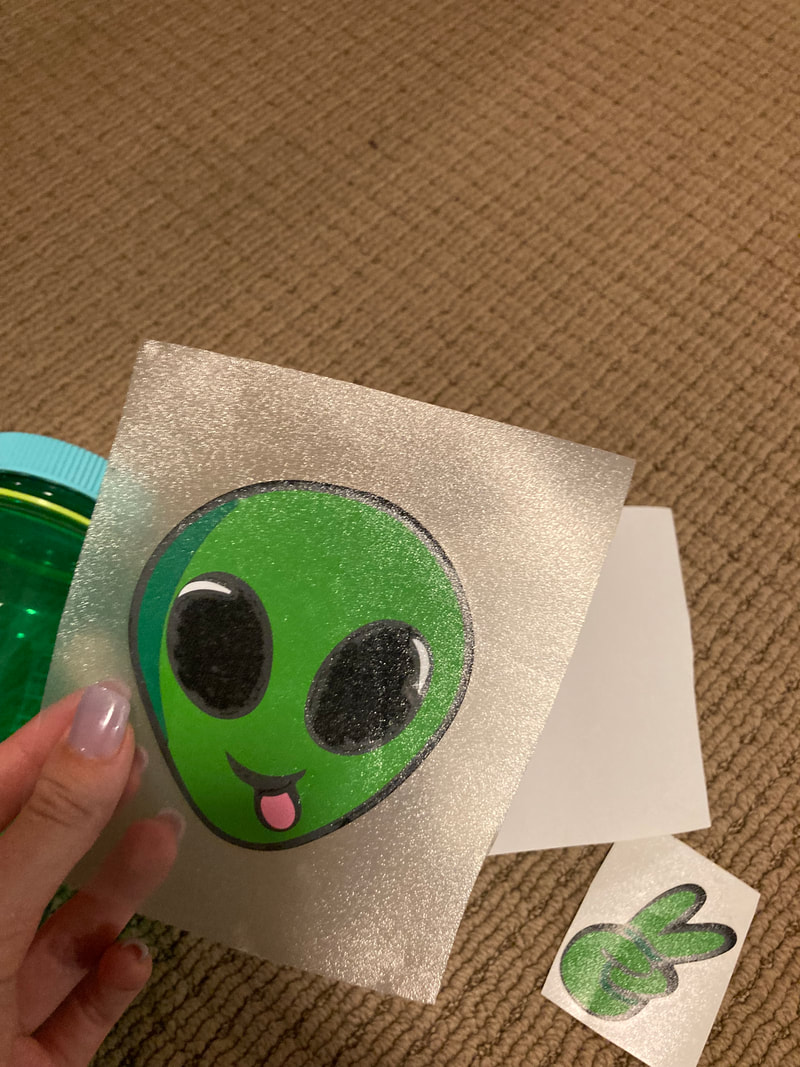
First I weeded out all of the things I did not want in the final decal.
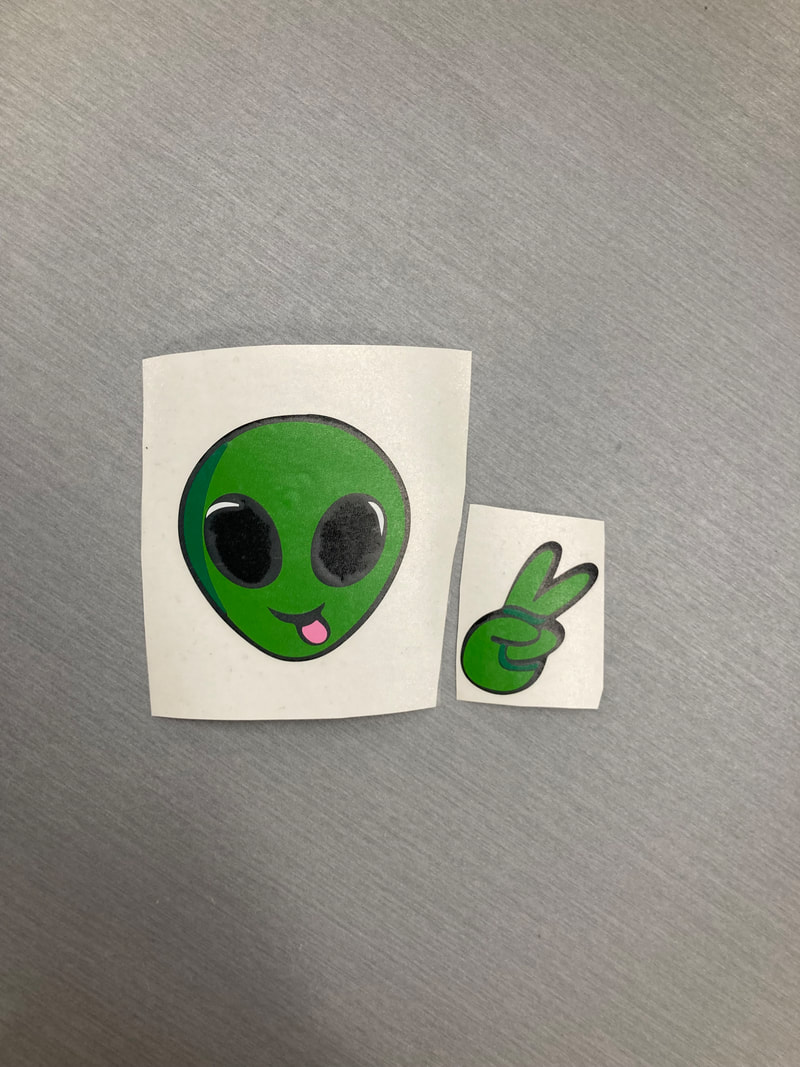
I repeated that until I had the entire decal on transfer tape.
|
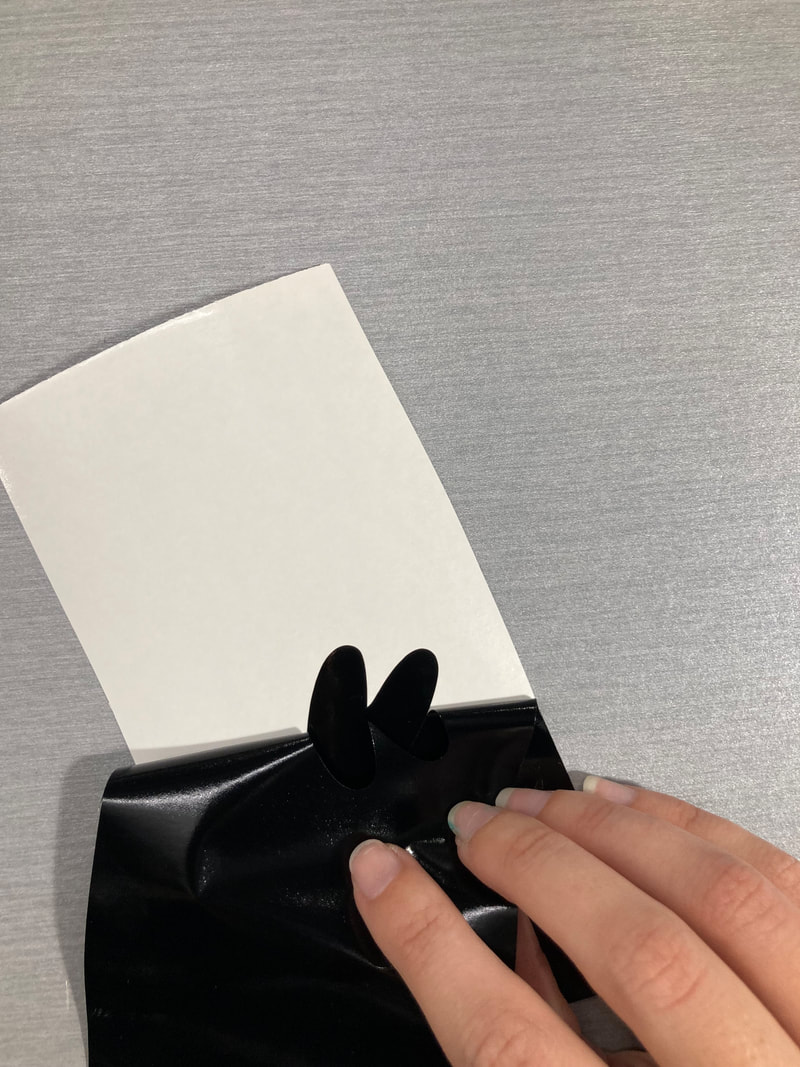
I peeled off the scrap pieces of vinyl.
To apply the decal onto my water bottle I took off the backing.
|
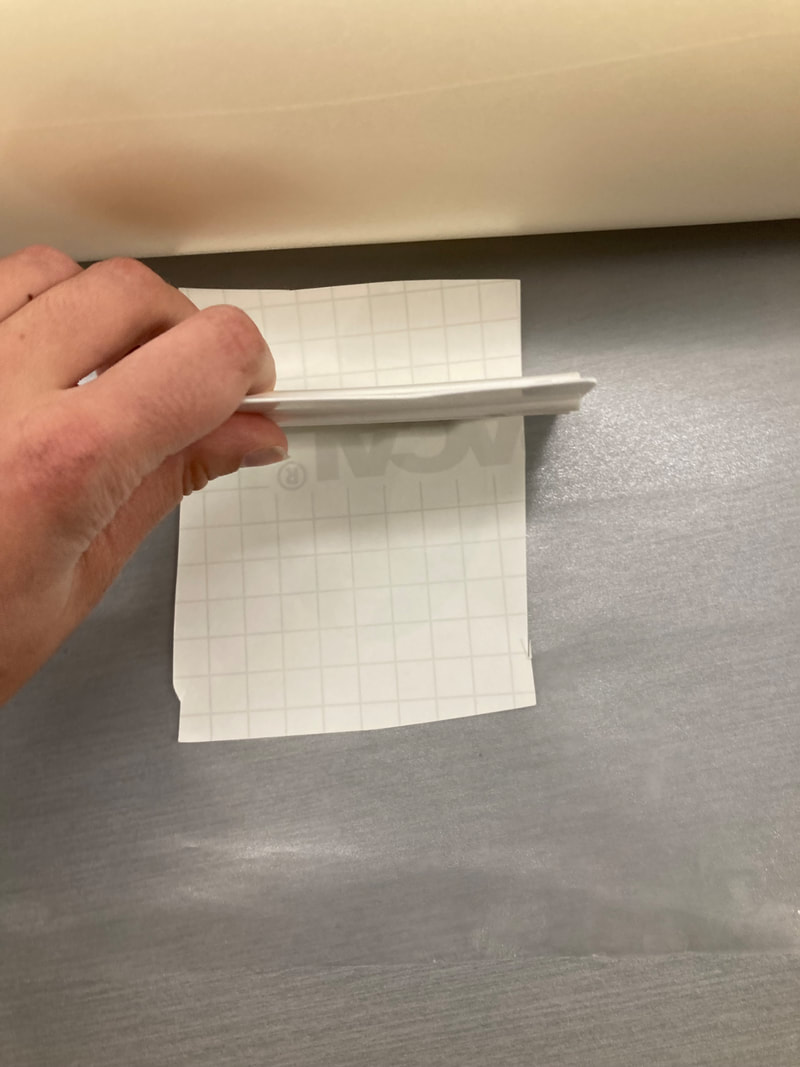
I then put the vinyl onto transfer tape.
Then I put it on the spot I wanted it to go and pressed down on it.
|
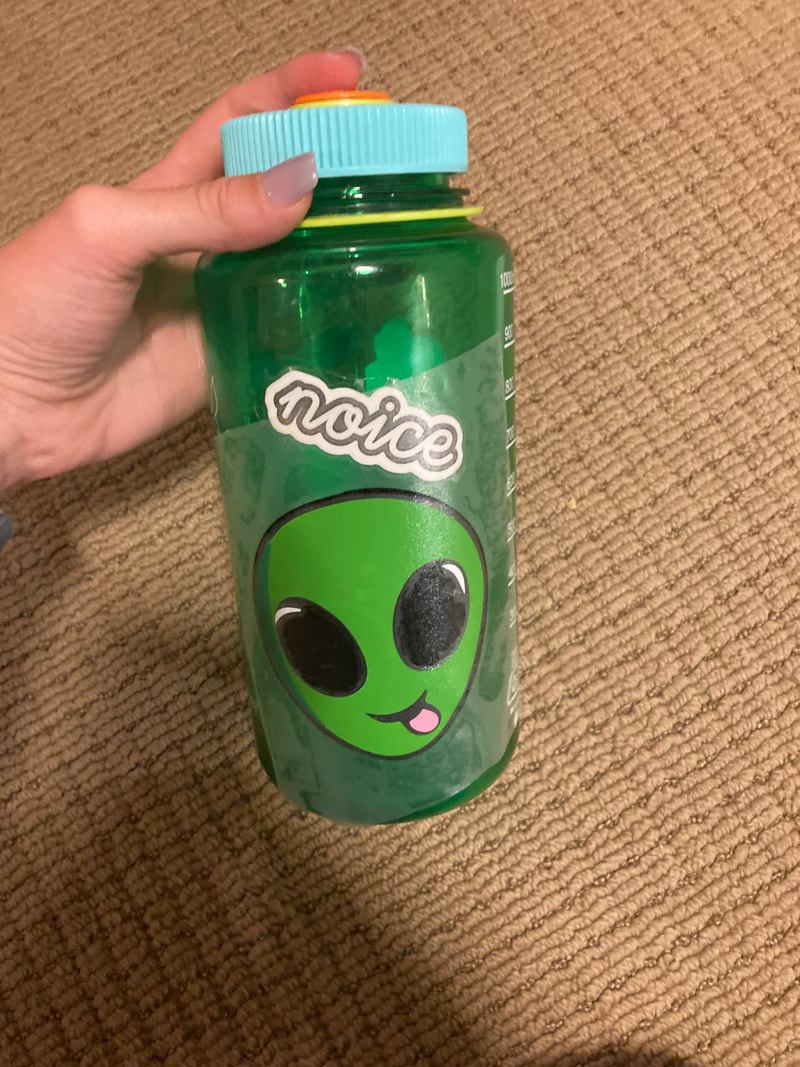
After that I layered all of the pieces in the correct order.
Then I put on the other piece and was done.
|
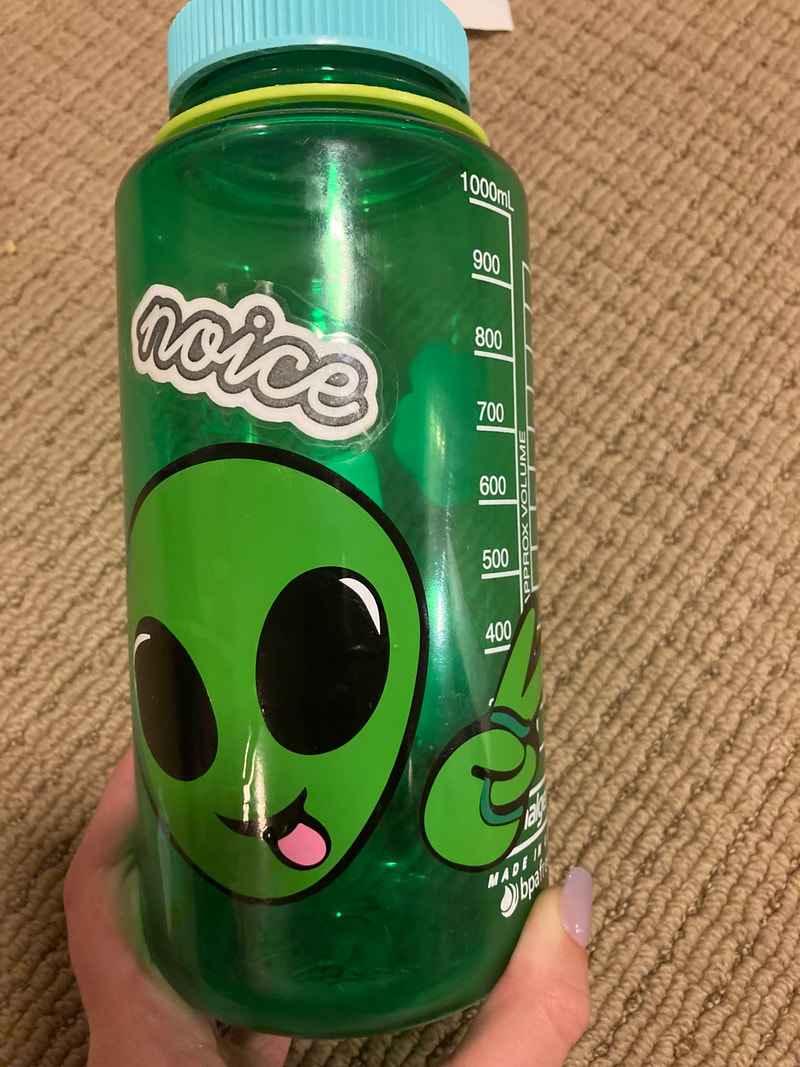
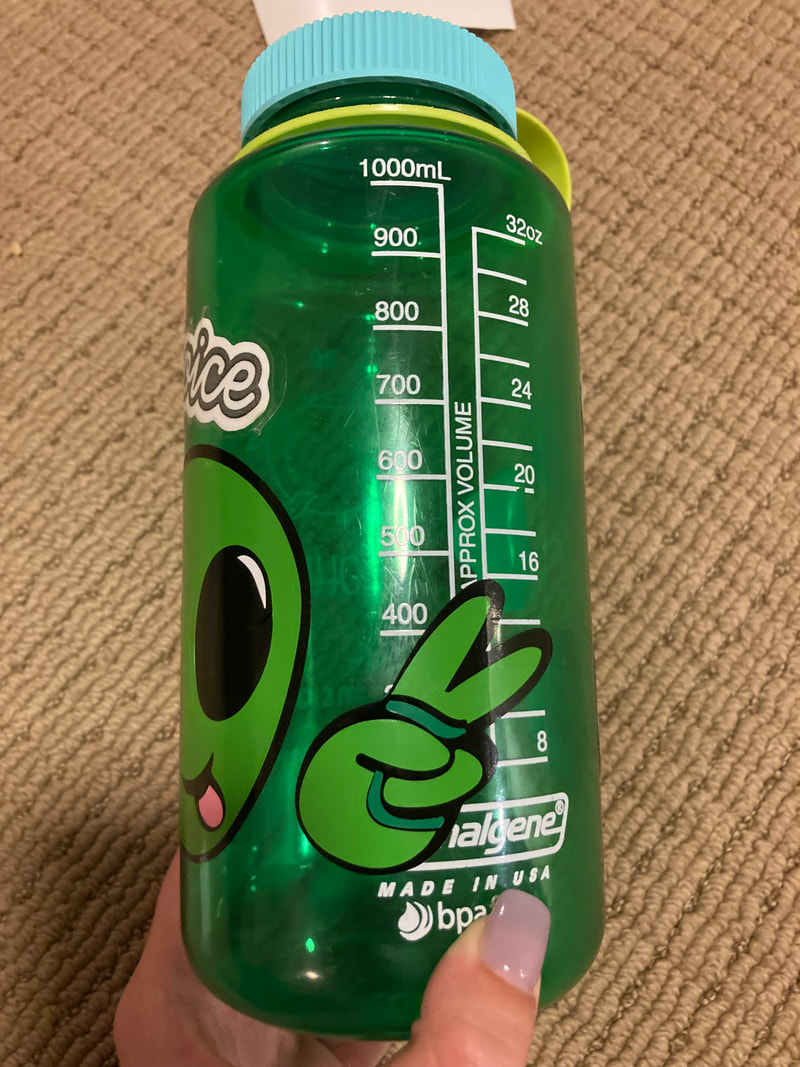
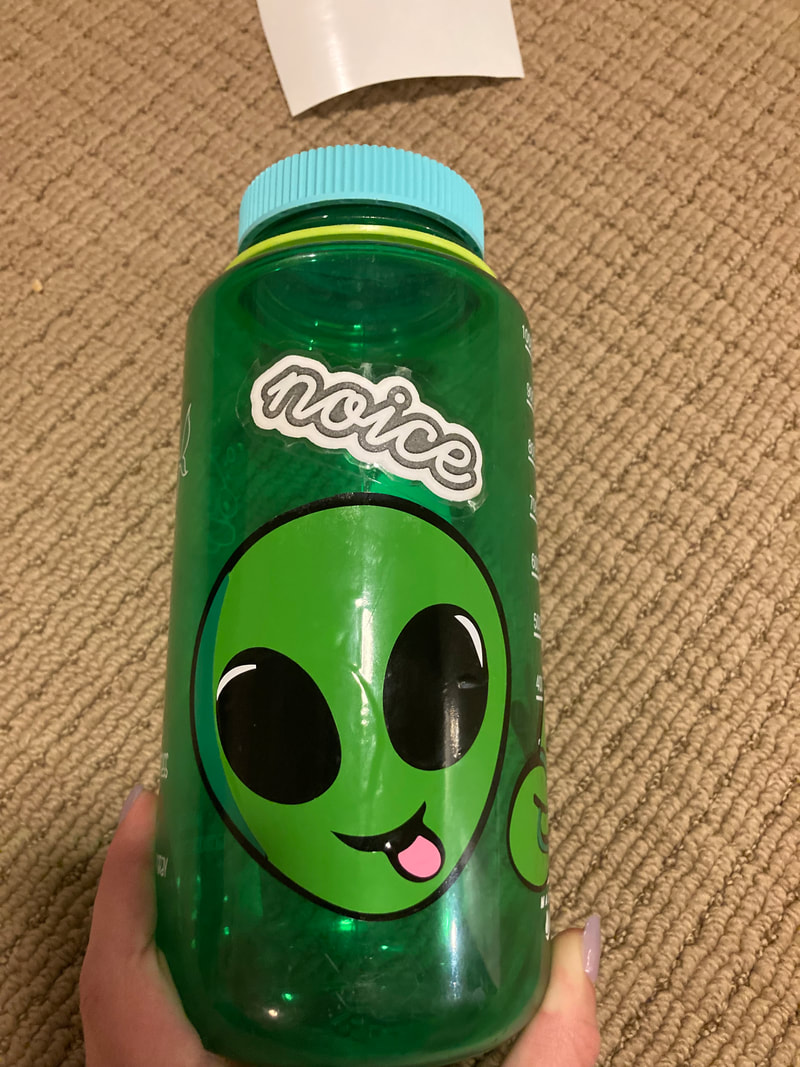
Final
|
|
What I Learned
In this rotation I learned how to set up the vinyl cutter, like how to upload your illustrator file onto the vinyl cutter, and how to add the vinyl into the machine. I also learned how to separate parts of an image in illustrator. Another thing I learned is that you need to make sure your decal is in the right spot on the vinyl or else the vinyl cutter will cut the decal in the middle of the roll of vinyl.
