Designer Notebook/Pre-Sketches
|
|
|
|
Base-
|
|
|
|
|
|
|

|
|
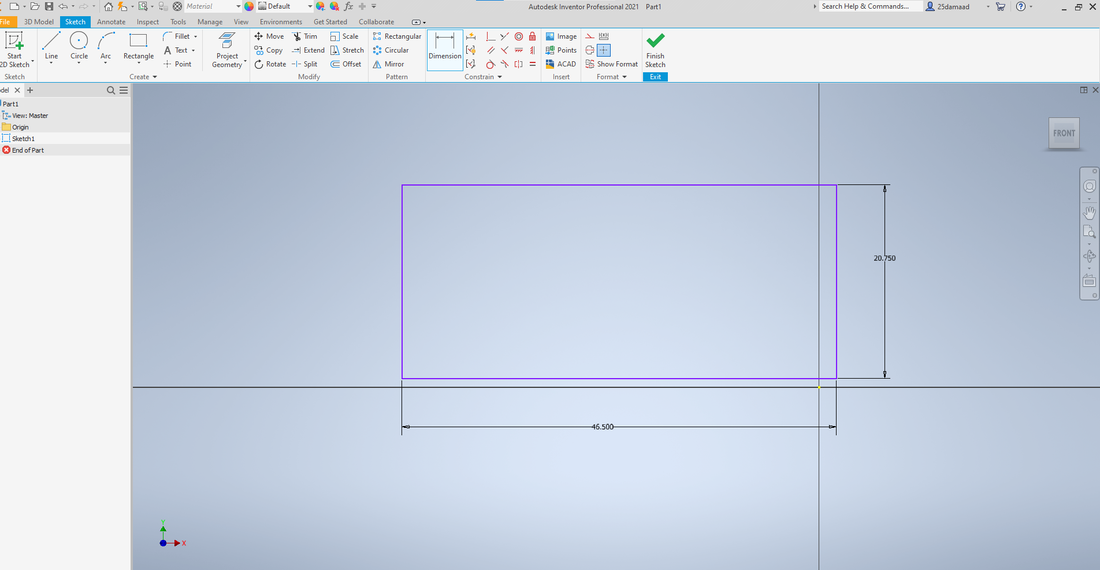
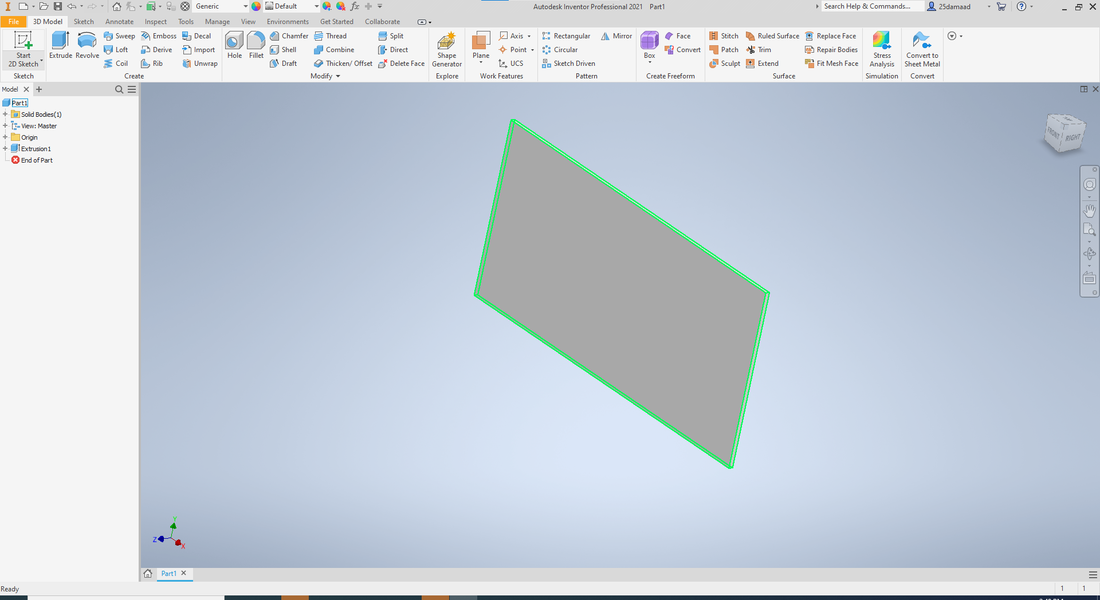
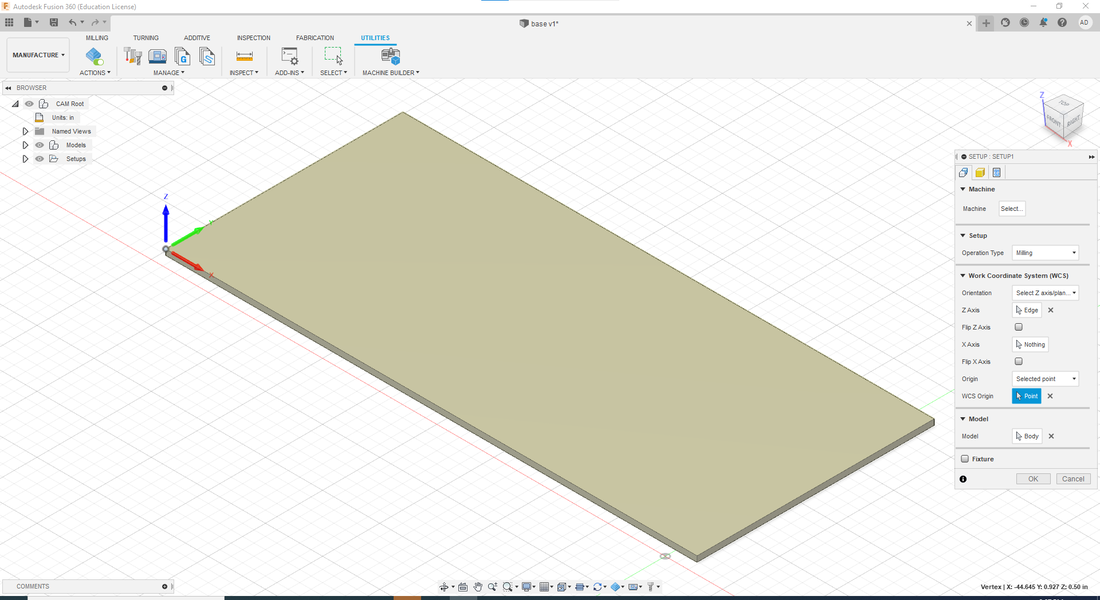
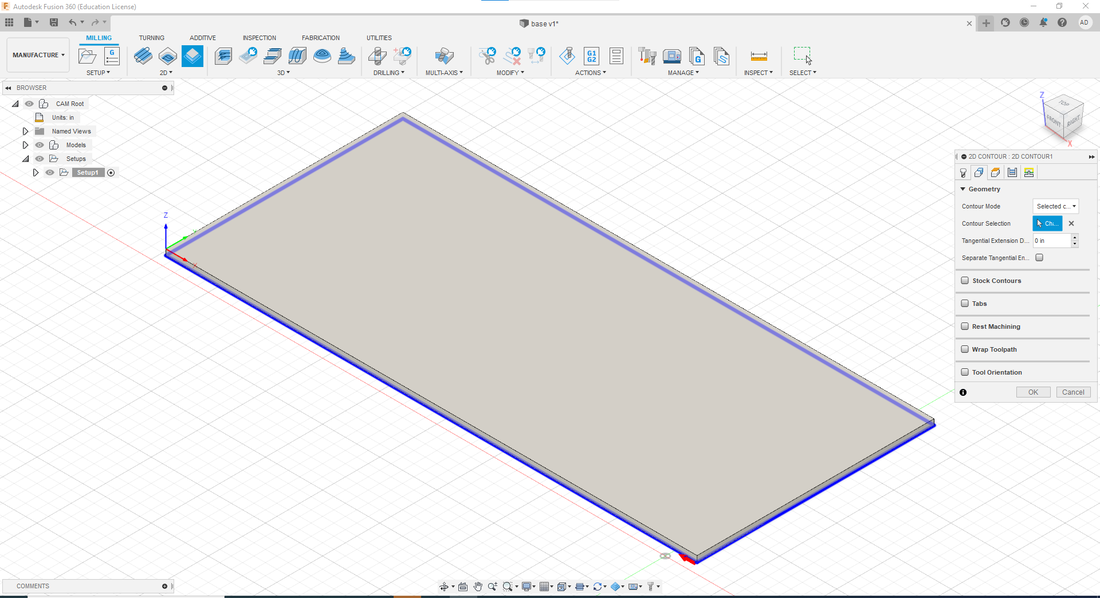
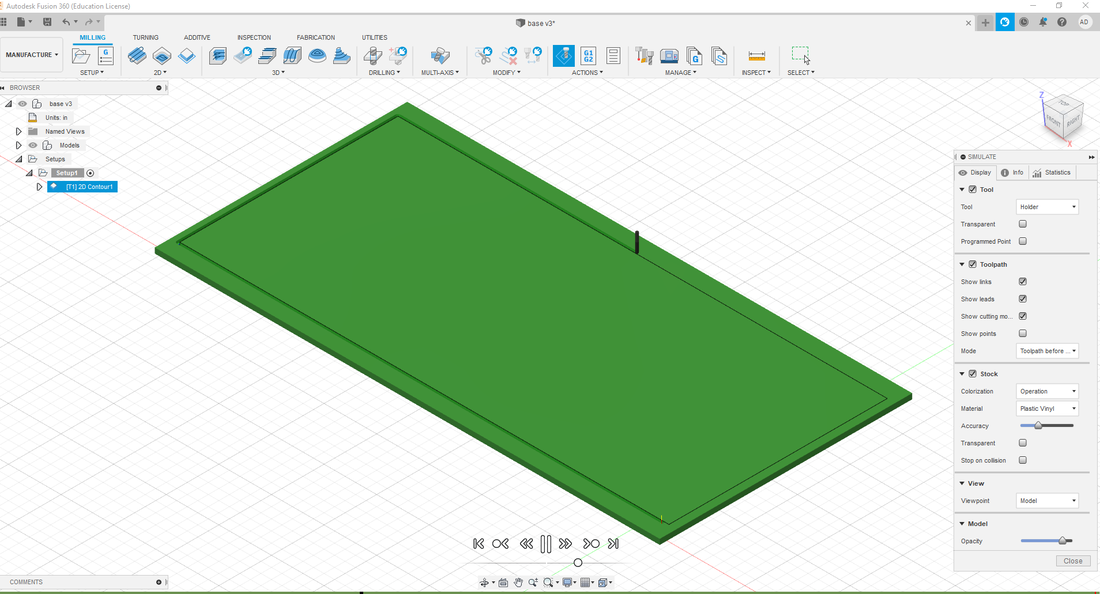
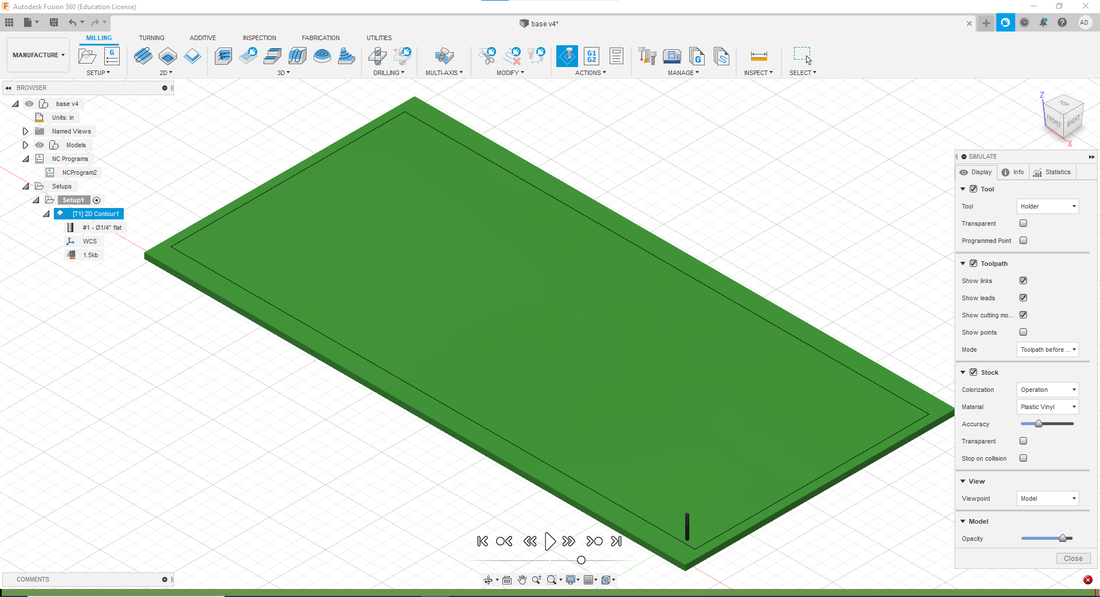
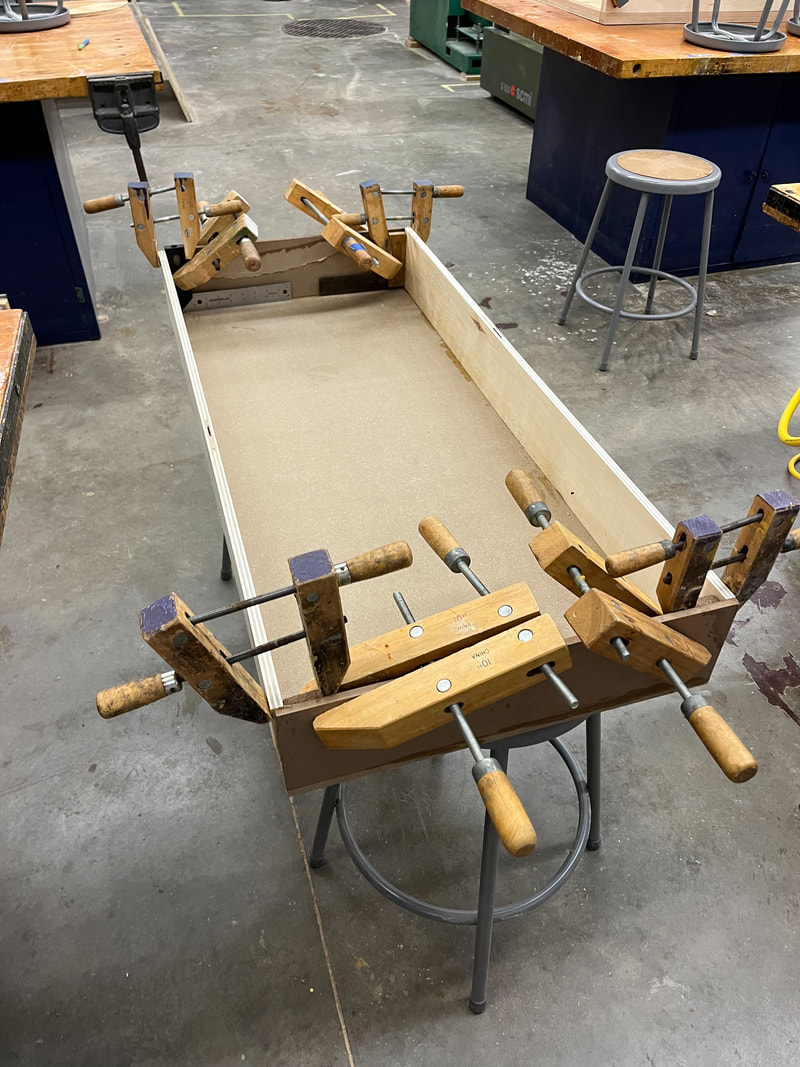
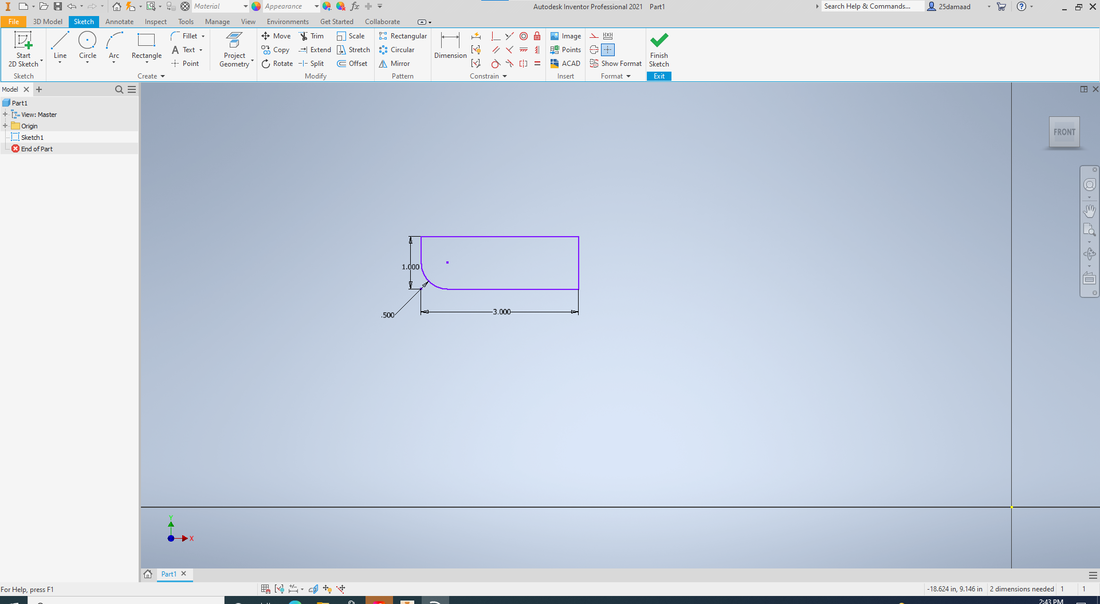
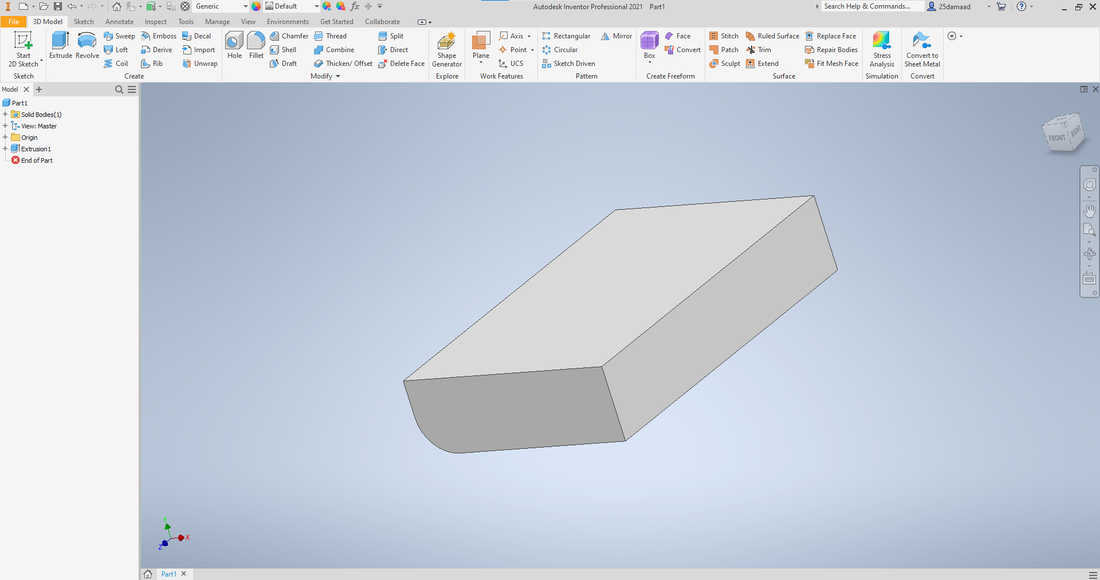
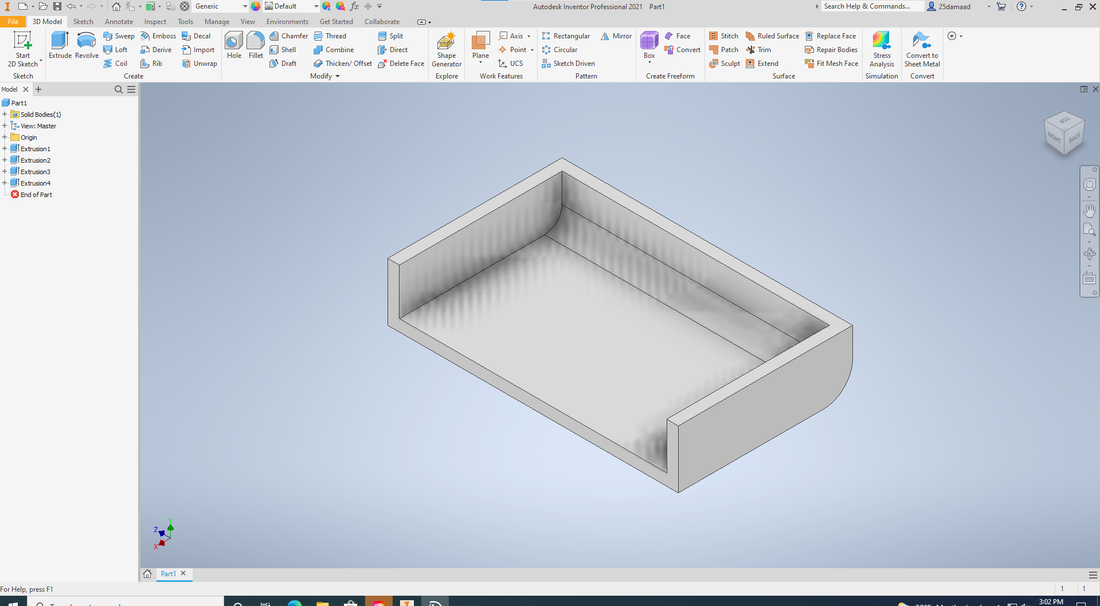
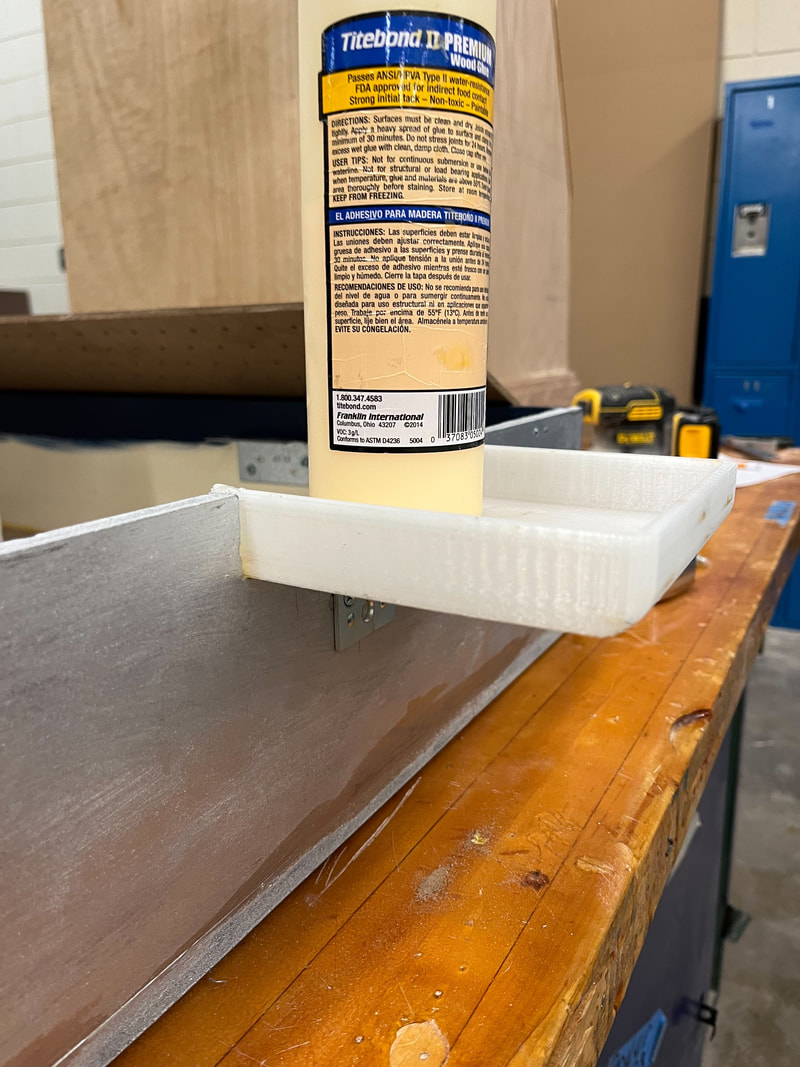
The base was the first thing I worked on for this project. Originally I thought that I wasn't going to use the router to make the top of the table so I routed the base. To route the base I first made a rectangle in inventor then transferred it to fusion 360. This was a challenge as I hadn't used the router or fusion in a while but I figured it out. Then I cut the sides of the table and used wood glue to hold them together as nails may have split the wood. We didn't have any 90 degree angle clamps so we got creative with the clamps we had.
Top-
|
|
|
|
|
|
|
|
|
|

|
|
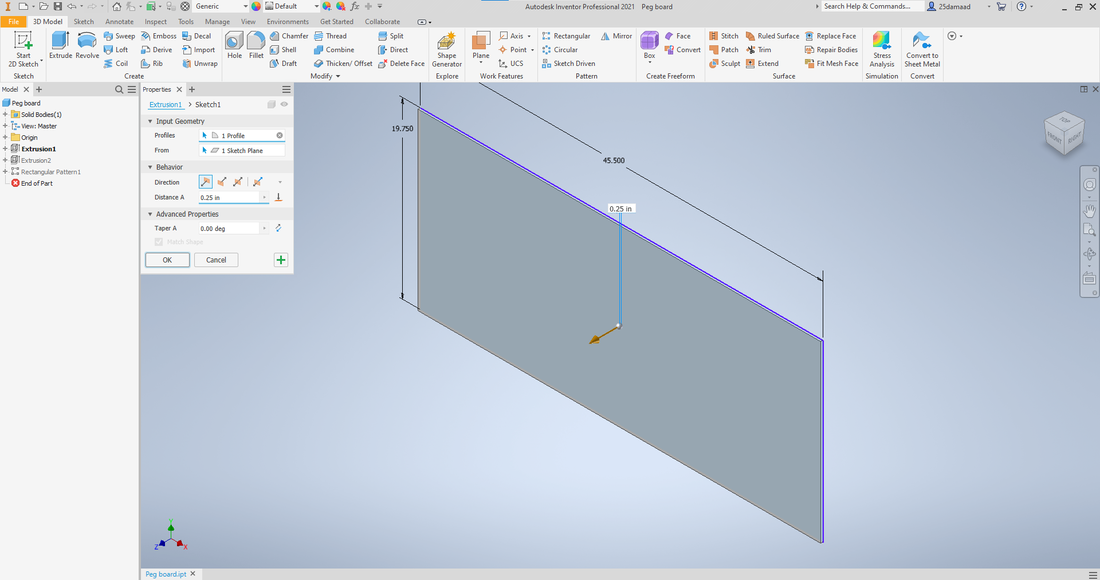
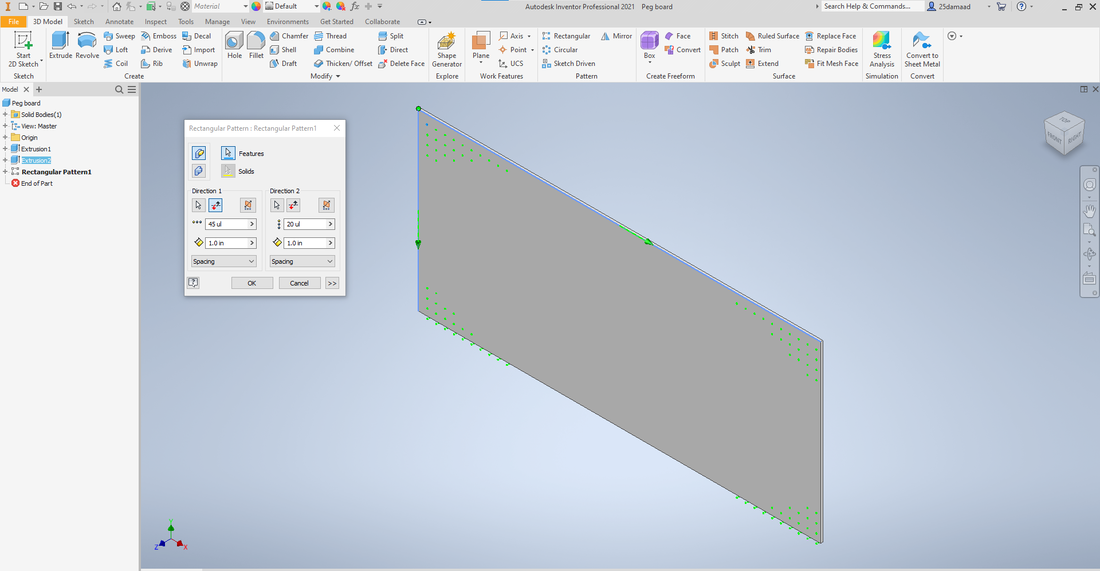
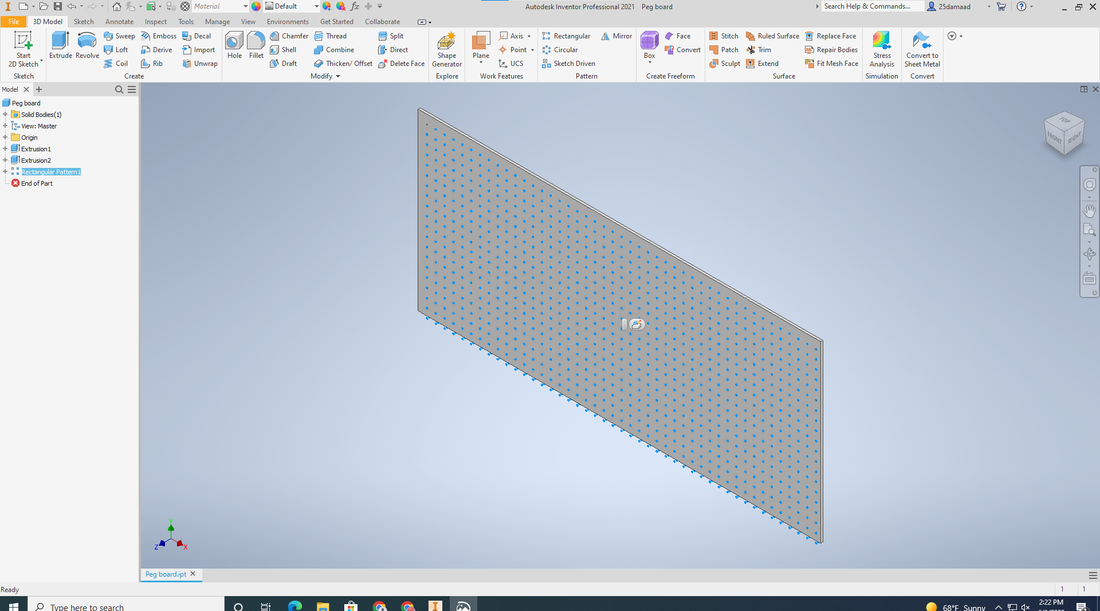
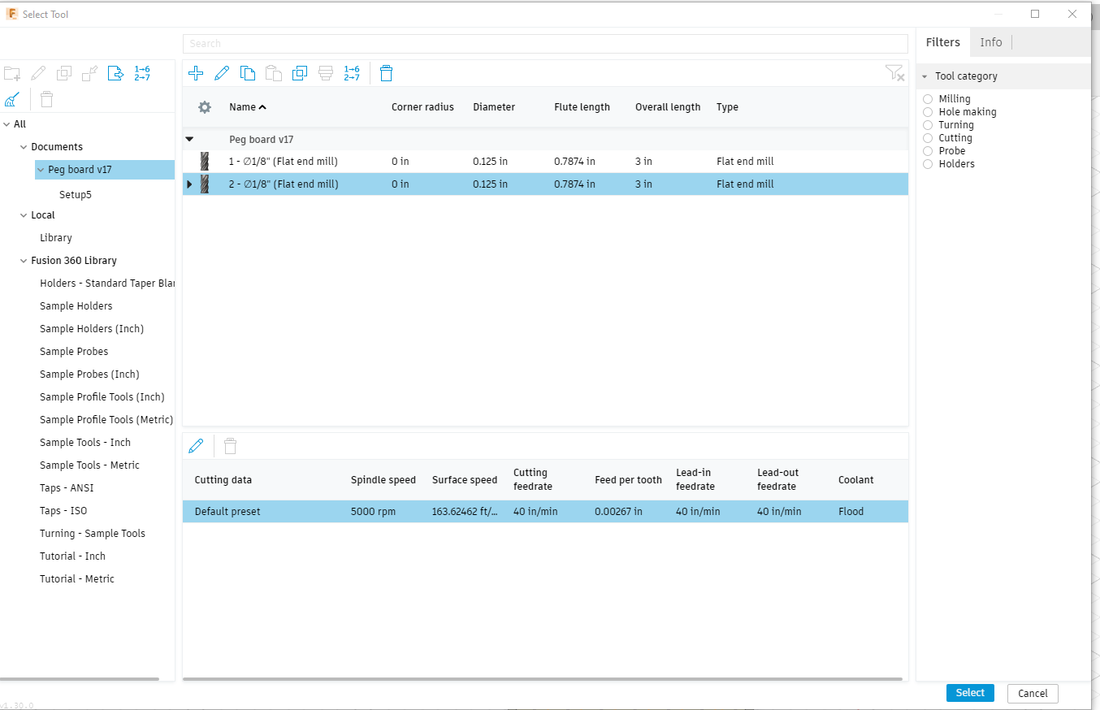
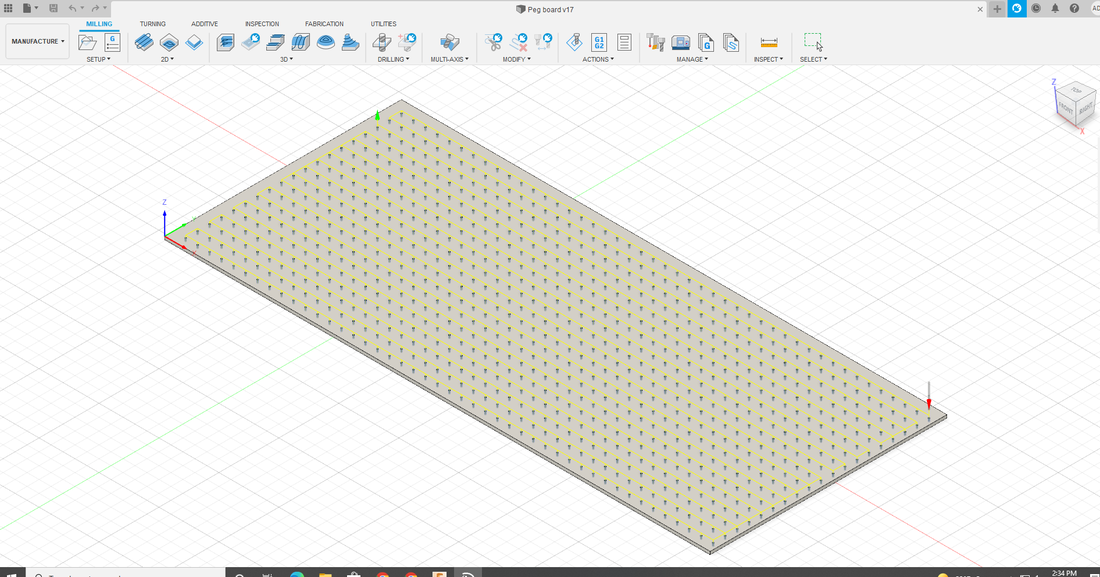
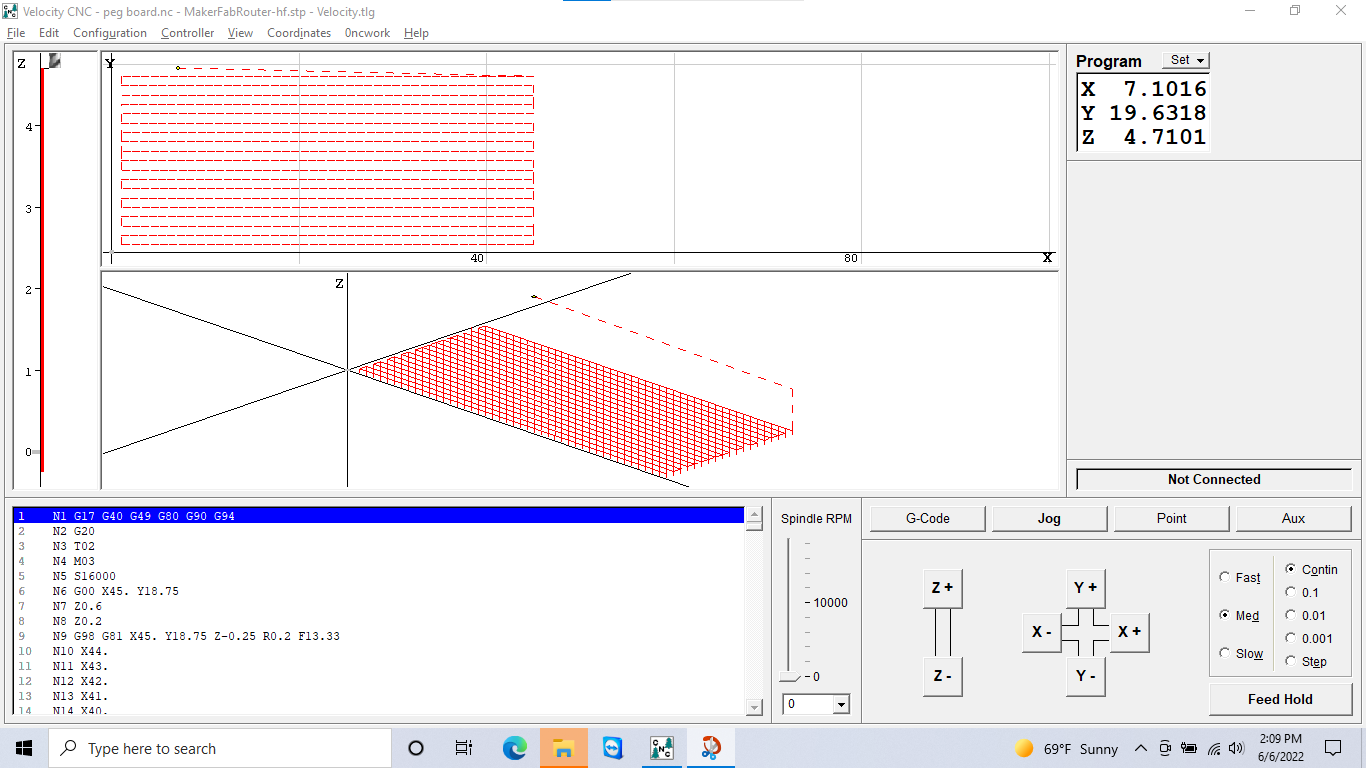
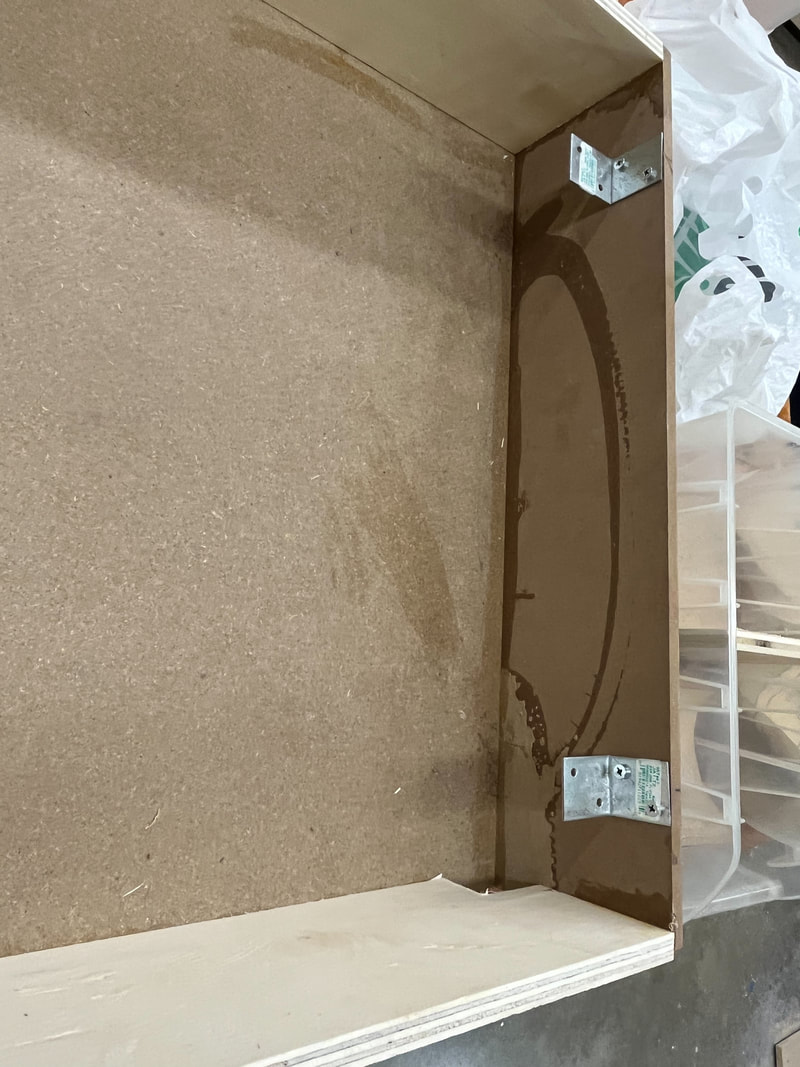
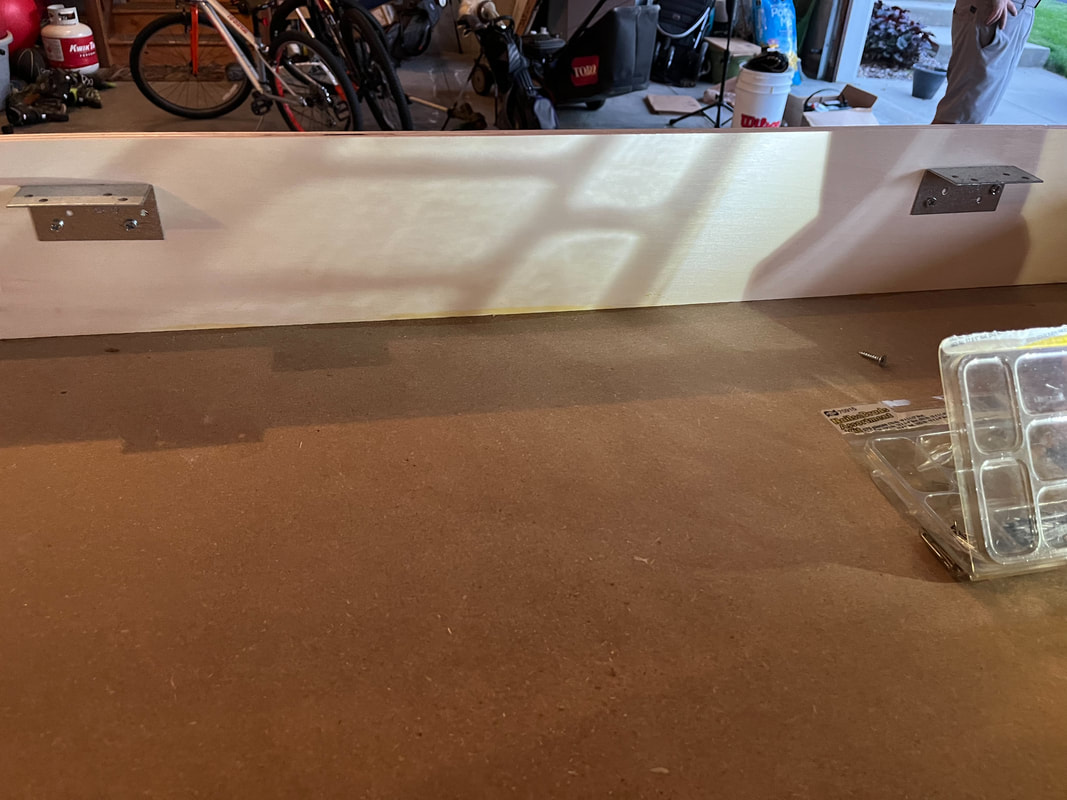
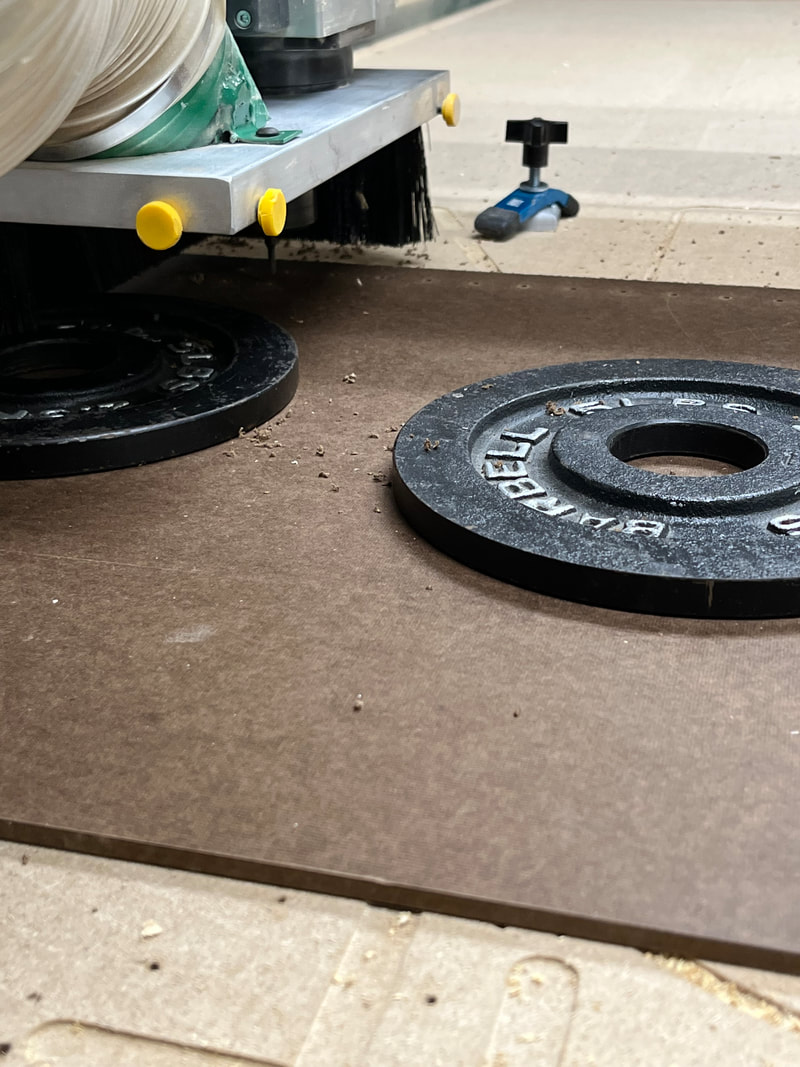
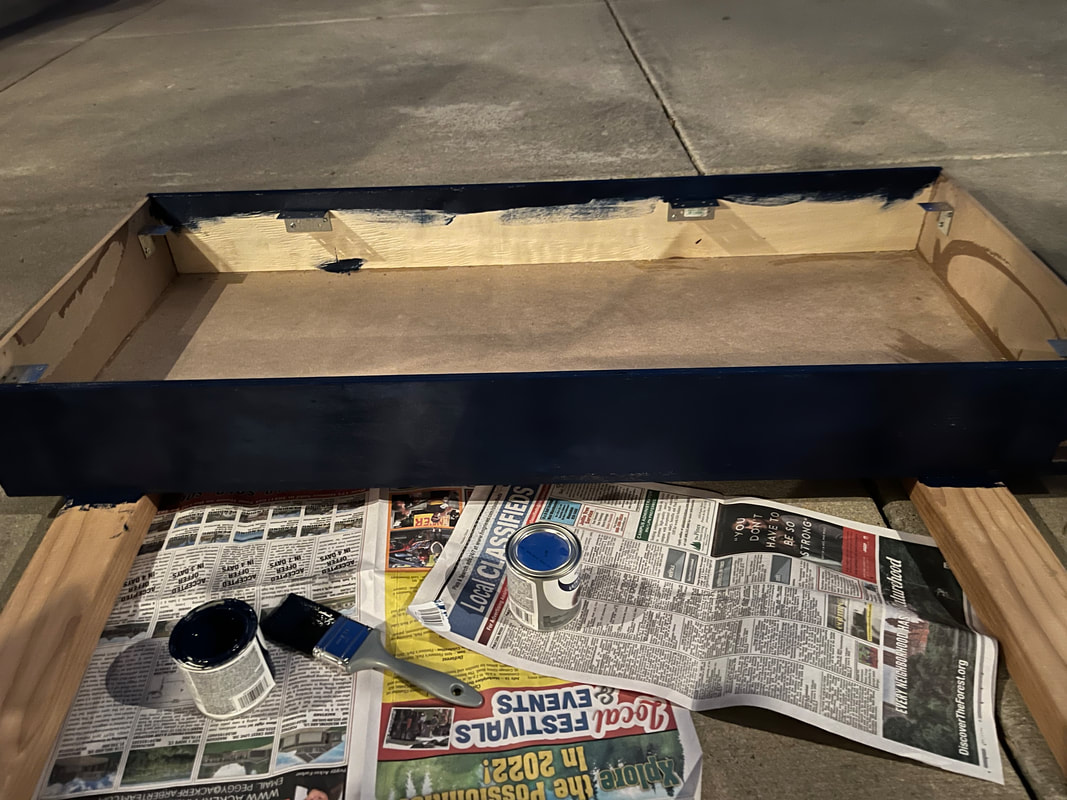
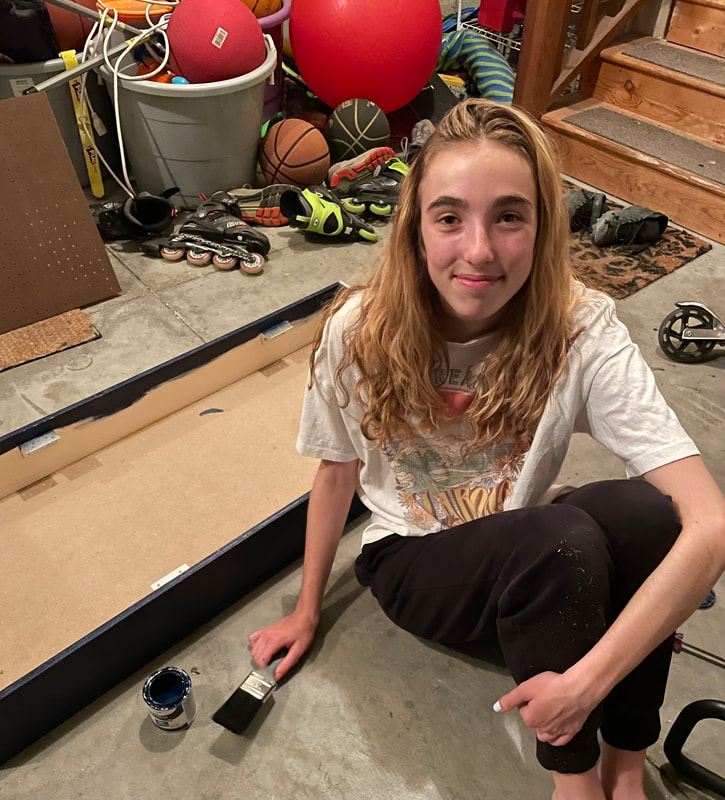
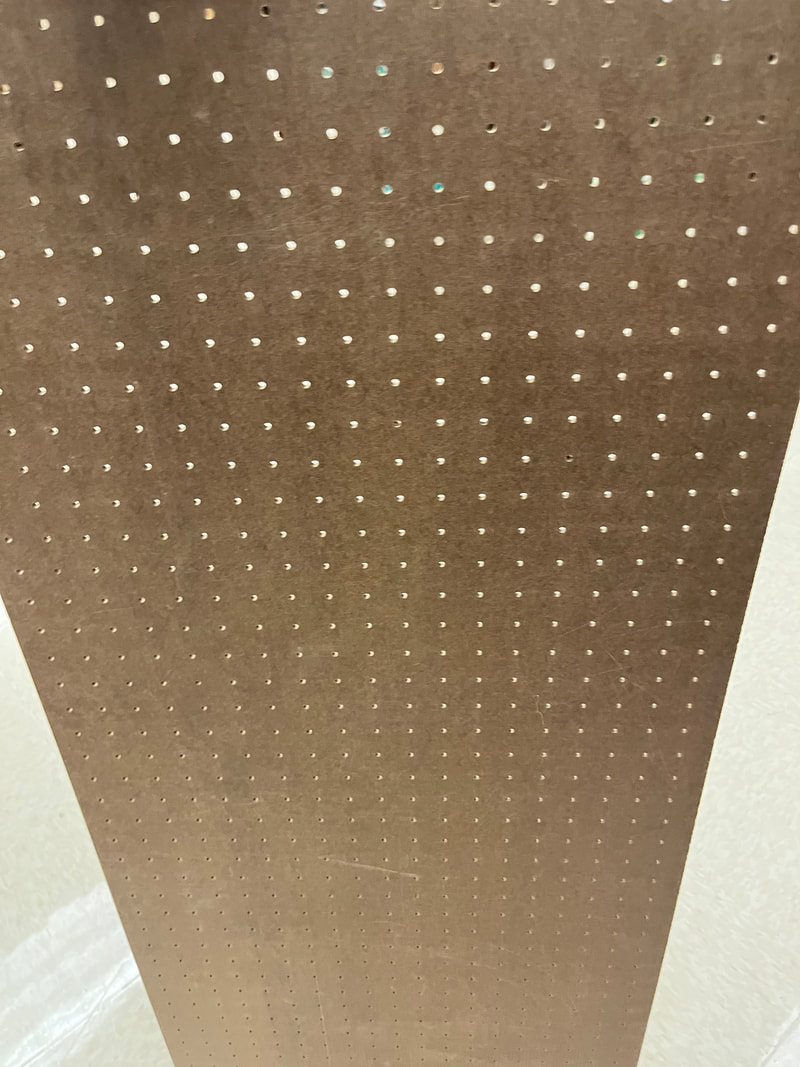
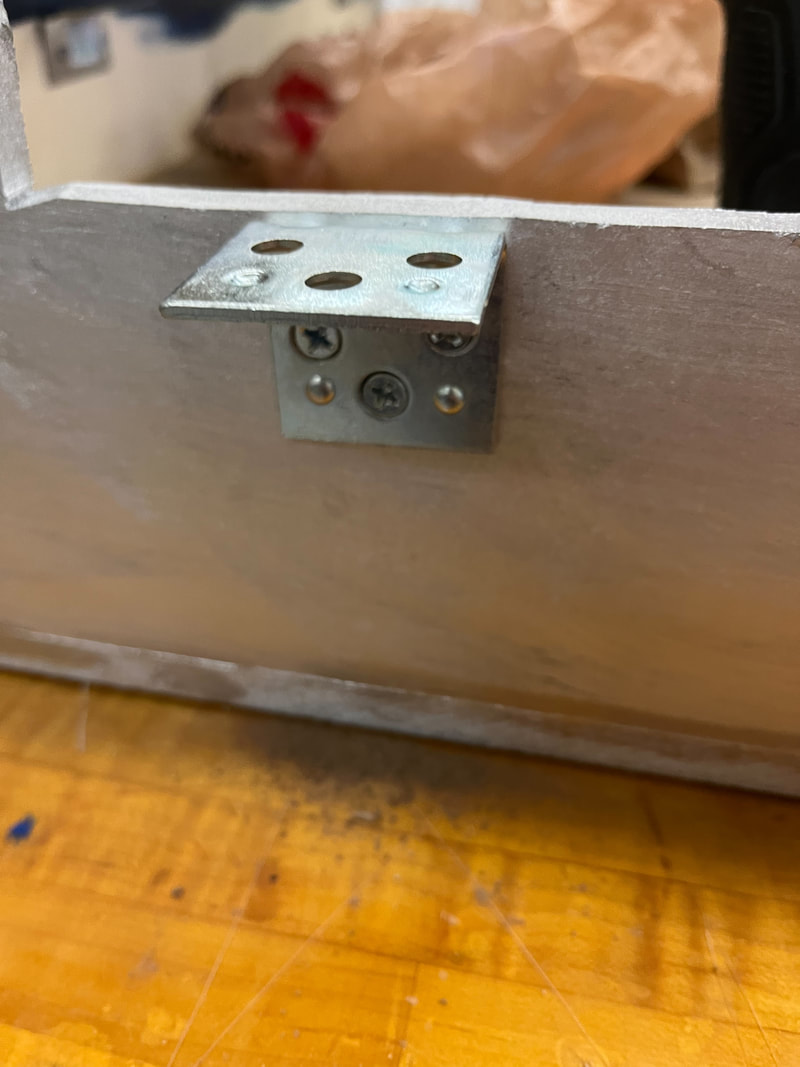
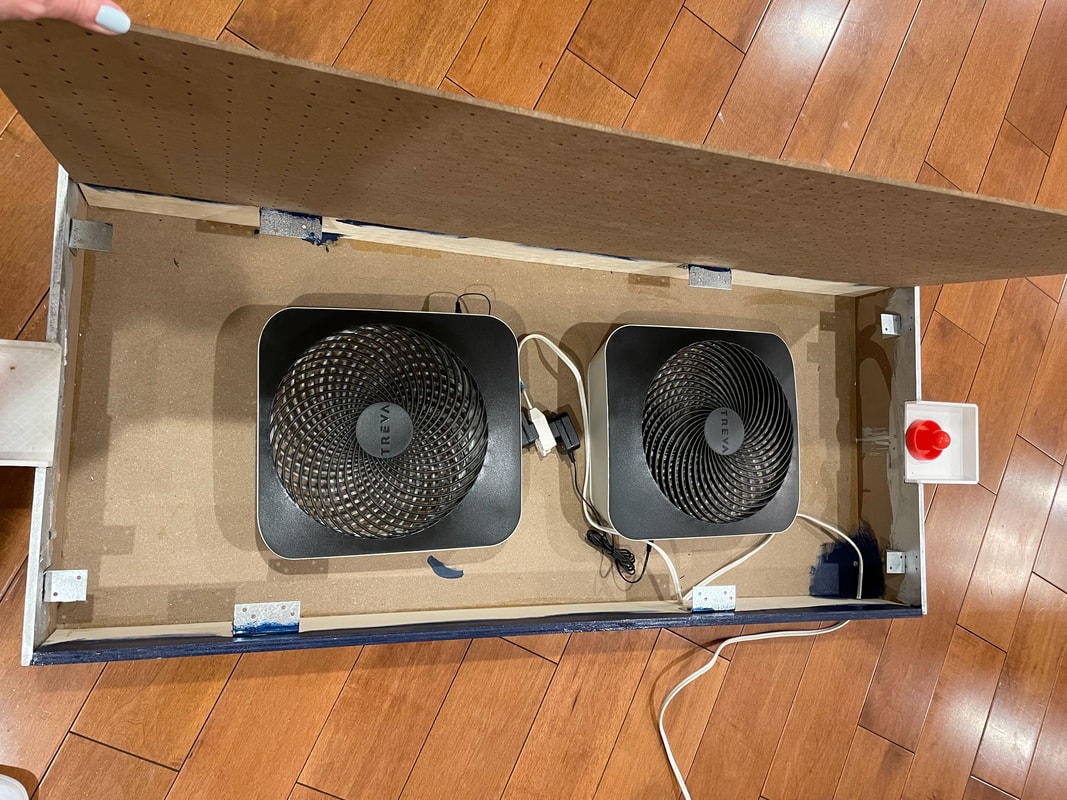
The next part of the project was the top. For the top I used the router to drill holes into a smooth flexible wood. Originally I was going to use the drill press for this however I realized how slow that would be so I used the router instead. This meant that to set up the router in fusion I had to click on all 800+ holes which took hours, and I accidentally crashed the computer twice. While routing we held down the wood with weights instead of drilling it down since there were so many holes. Then to hold up the top I drilled L brackets on the sides of the table sitting an inch deep. I put the brackets in backwards the first time so I had to redo it at home. After I put on the brackets I decided I wanted to paint the table, so I painted it silver and blue.
Goal
|
|
|
|
|
|
|
|
|
|
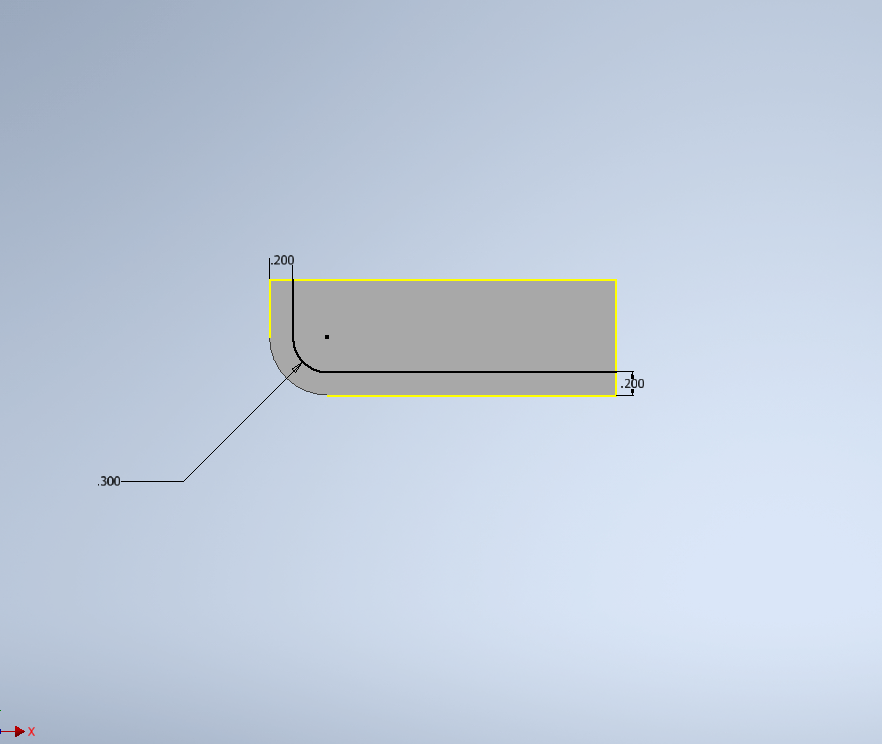
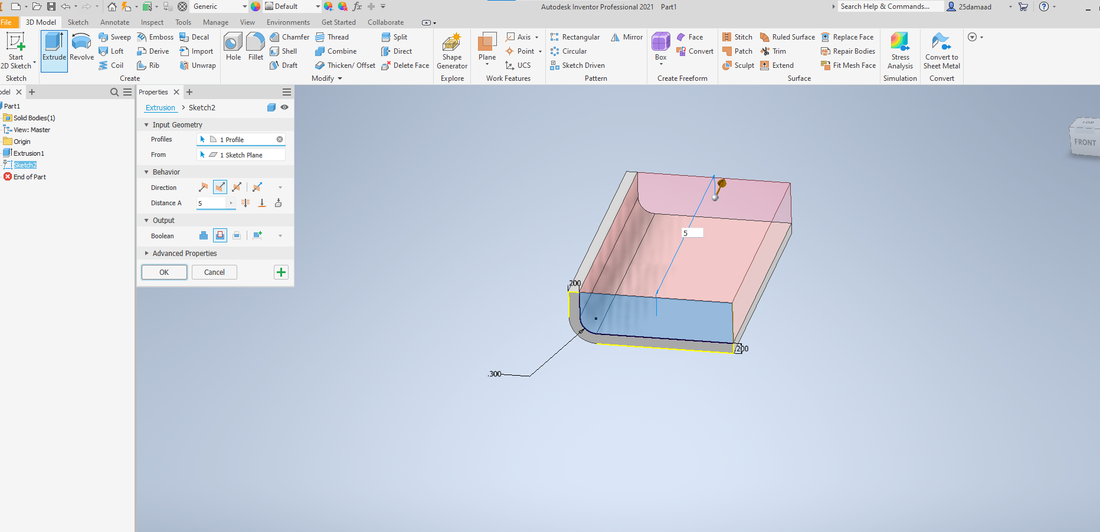
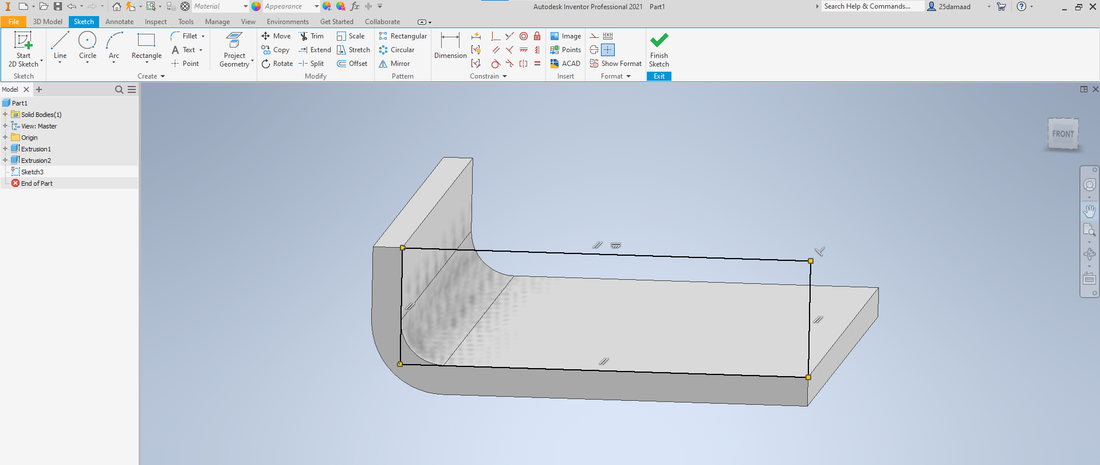
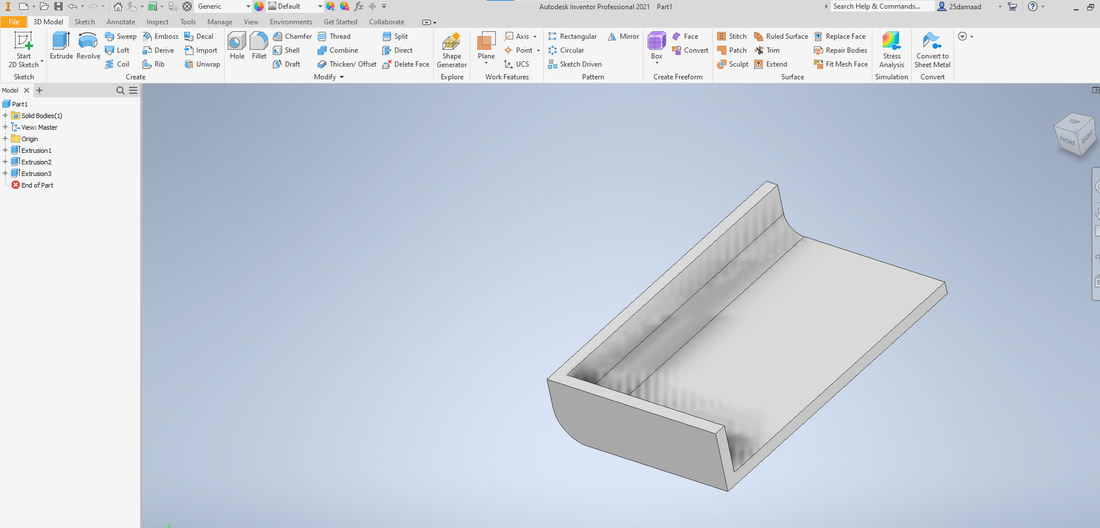
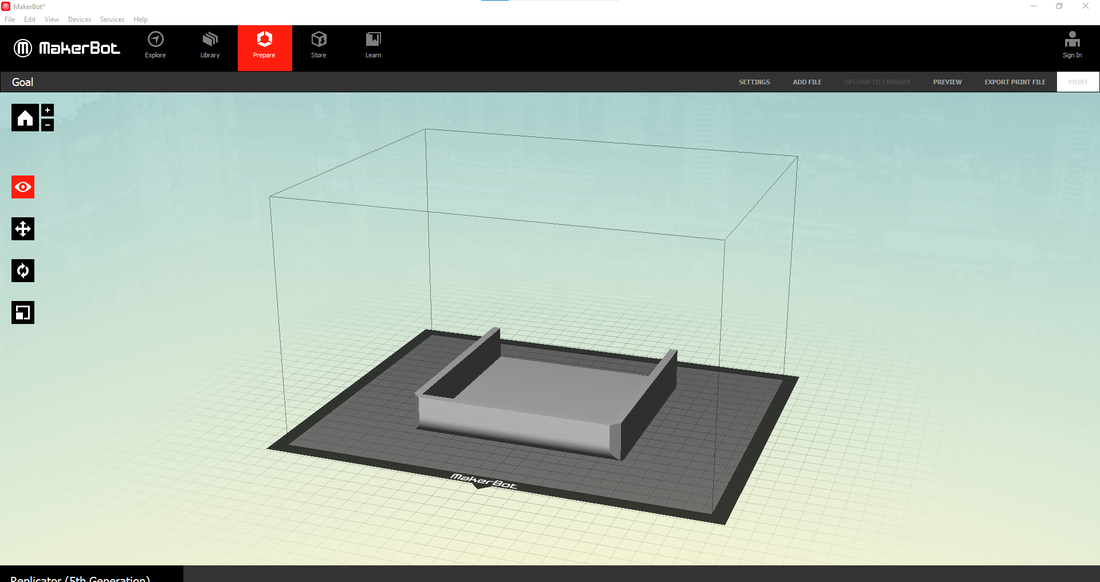
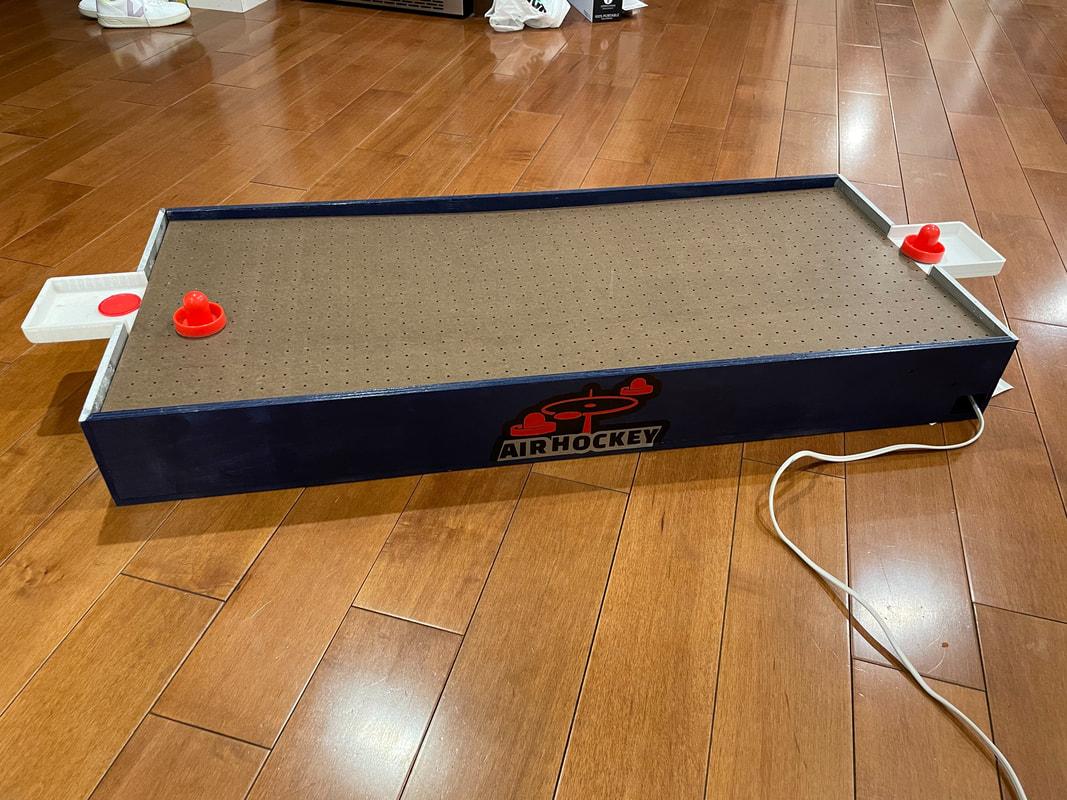
For my second machine I 3D printed my goals. Getting the shape and dimensions right in inventor was a little challenging but overall okay. To hold up the goals I put L brackets underneath them and then mixed wood glue and super glue to make them stick. The glue really didn't want to stick but after putting weight on it it eventually worked.
Vinyl
|
|
|
|
|
|
|
|
|
|
|
|
|
|
|
|
|
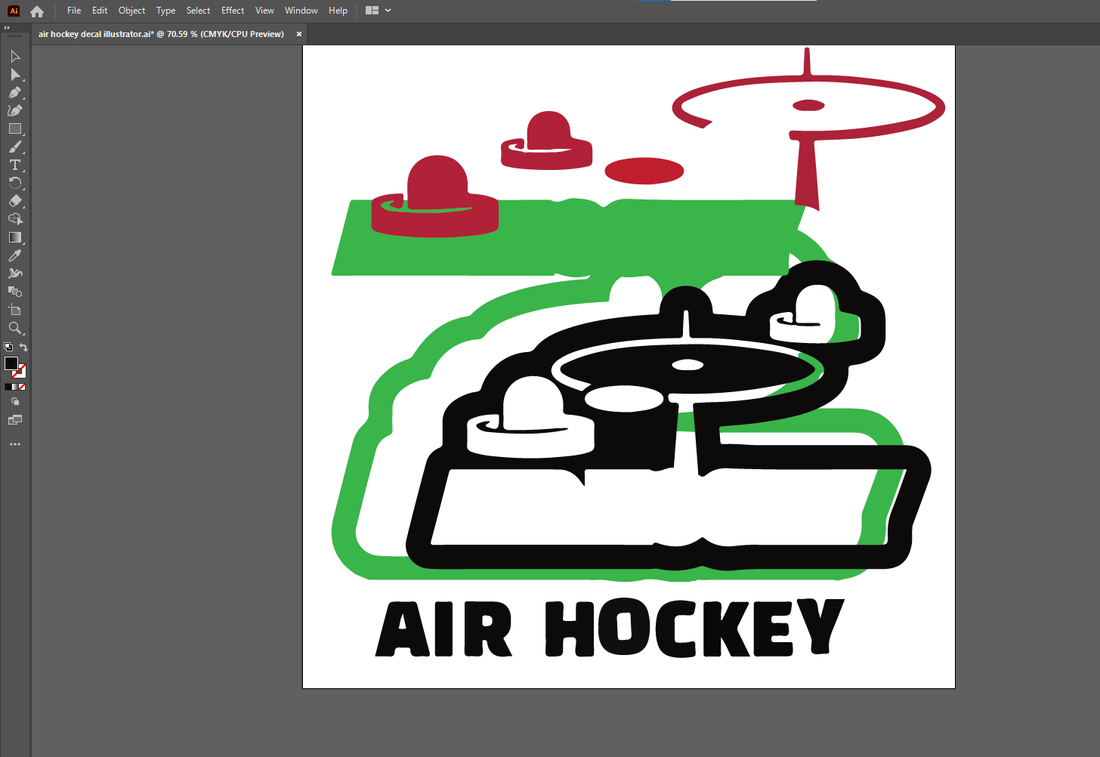
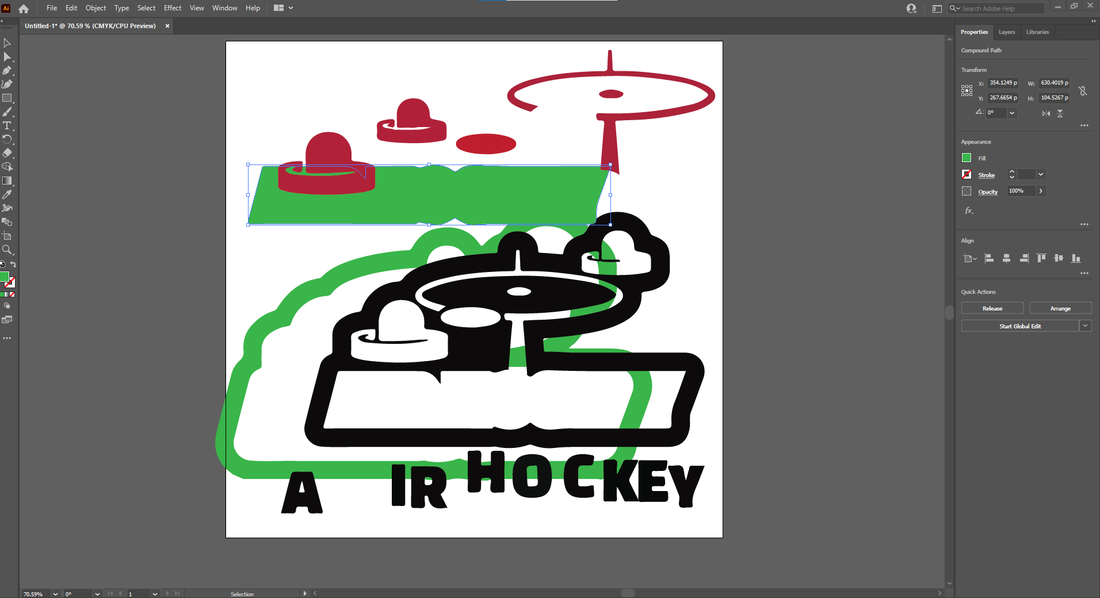
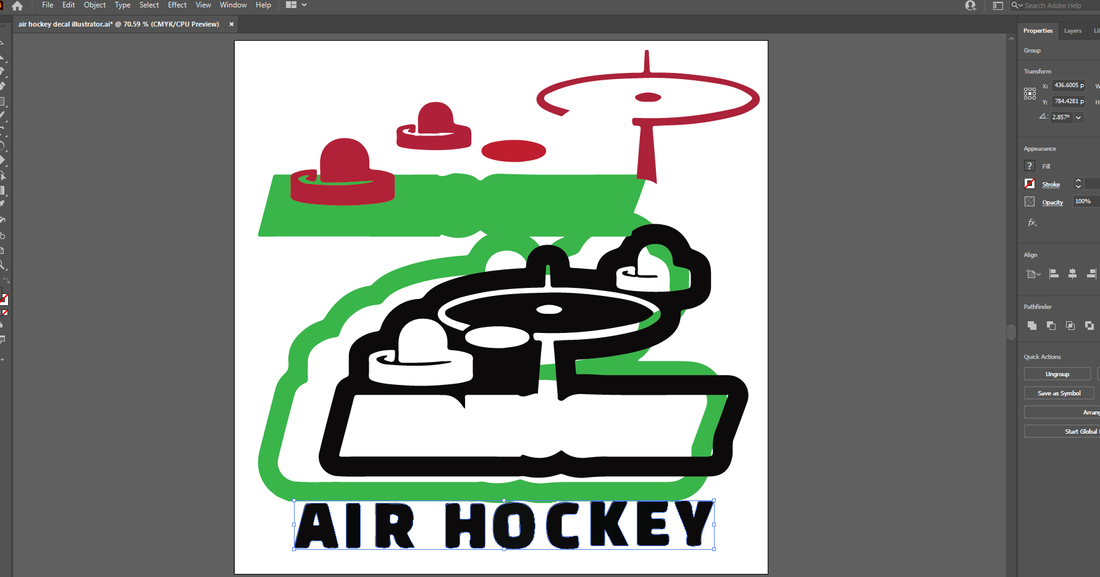
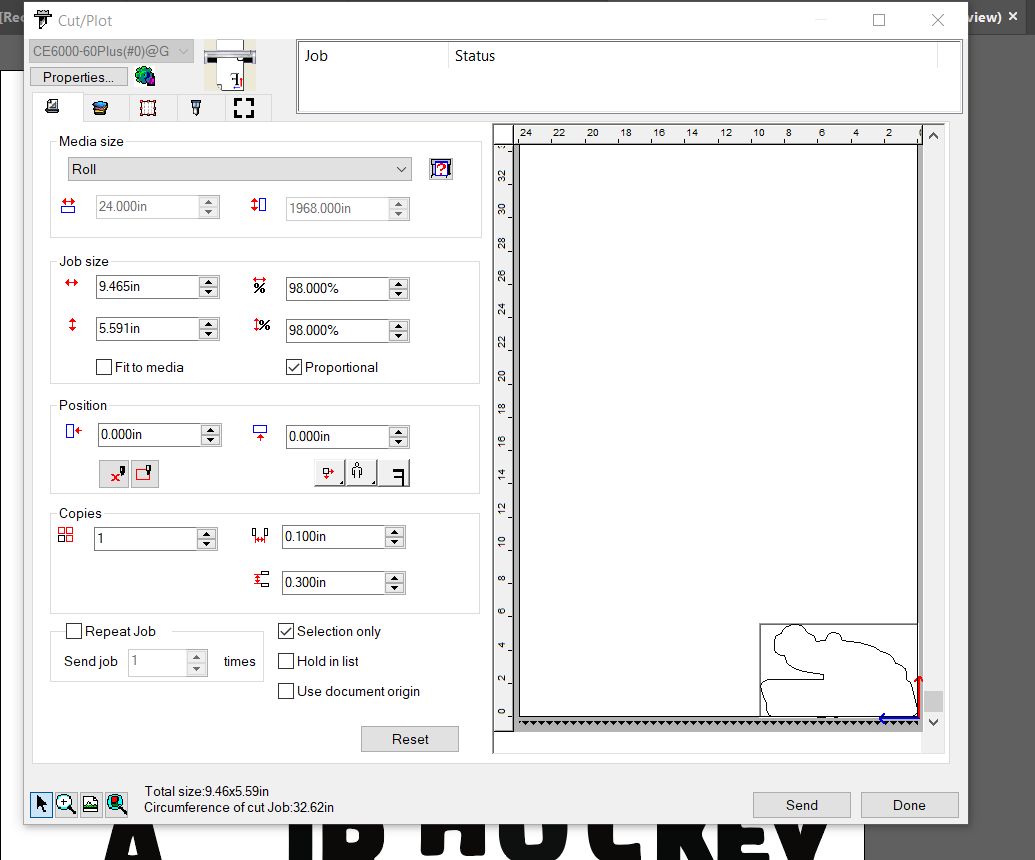
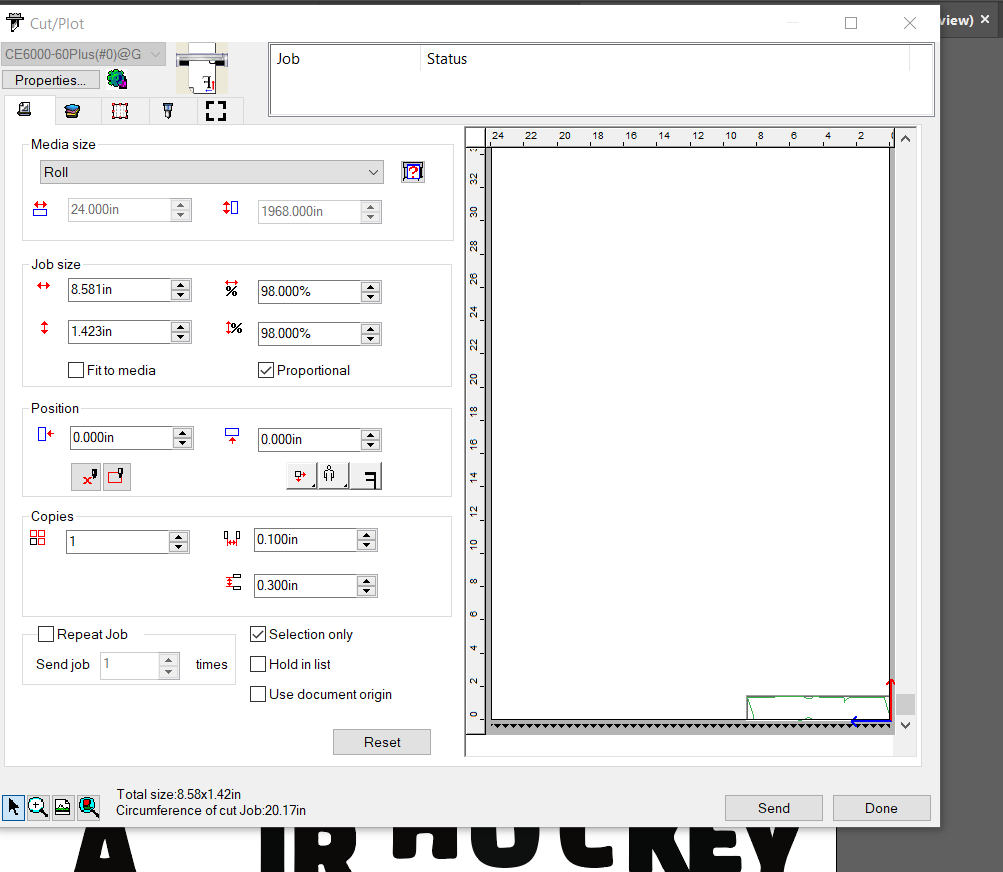
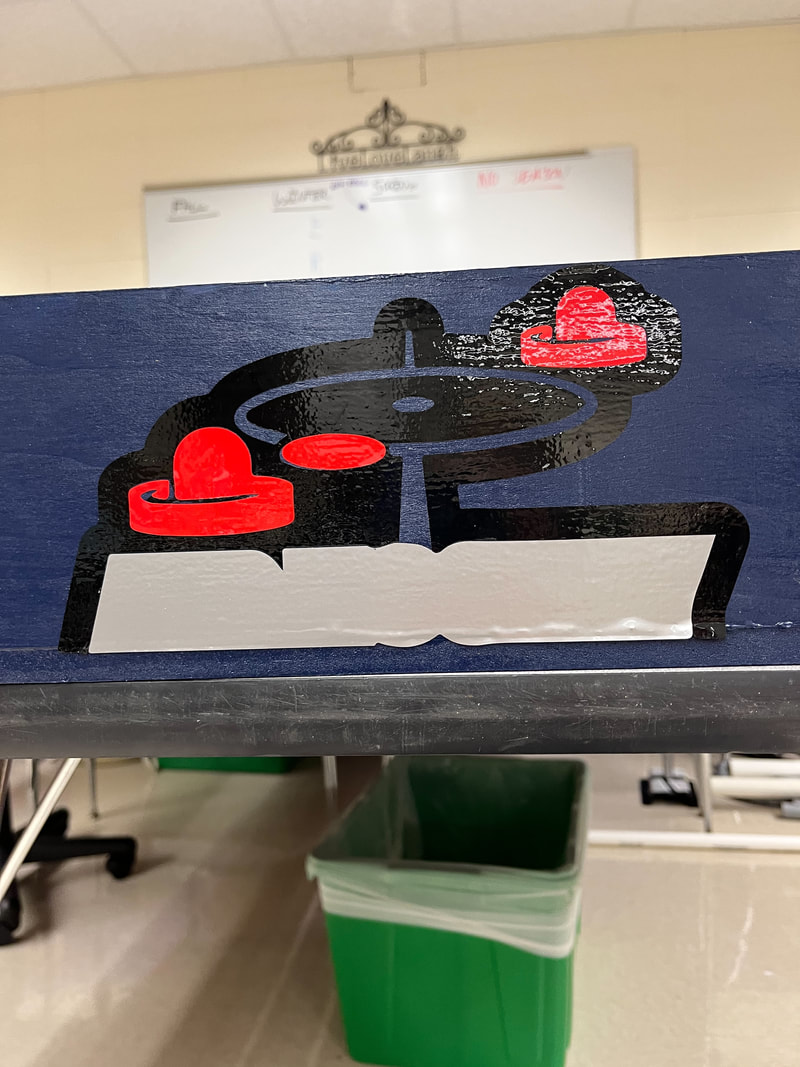
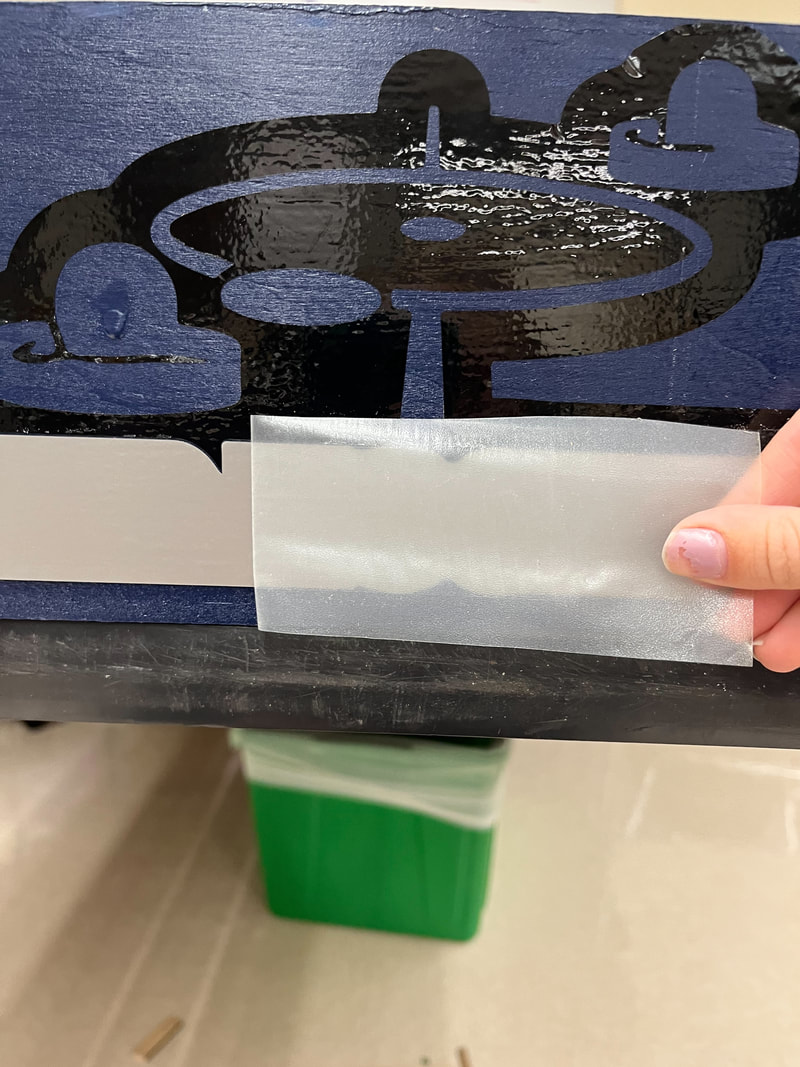
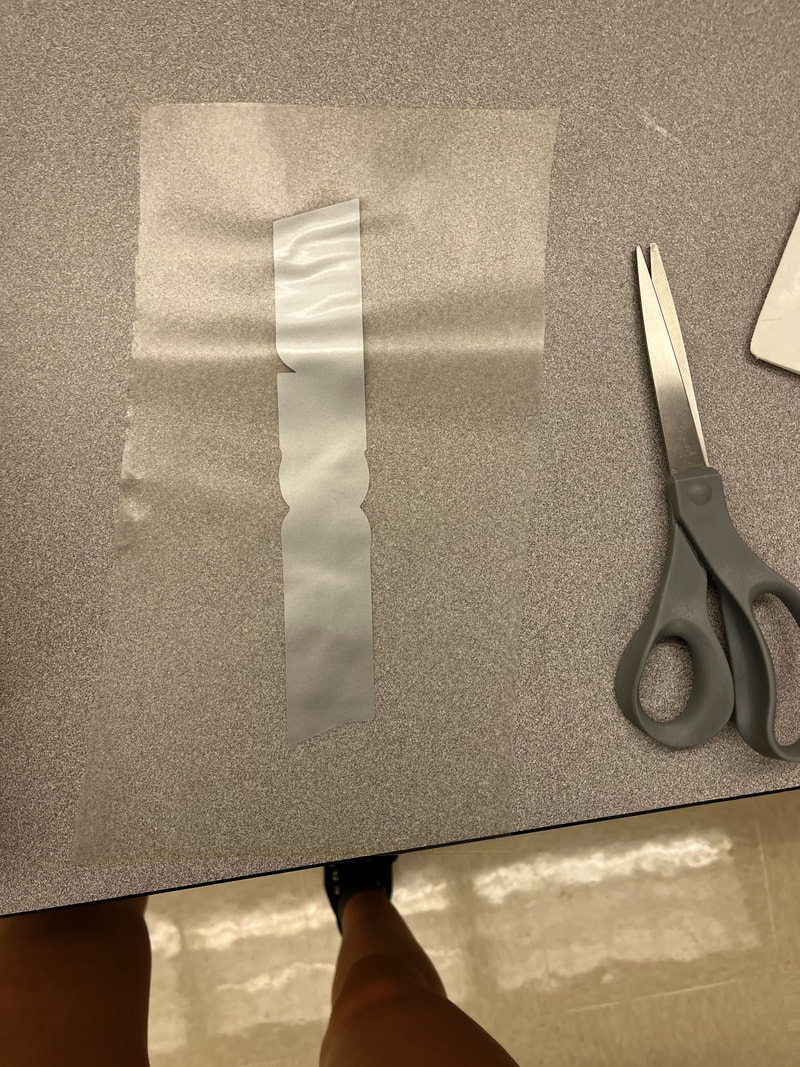
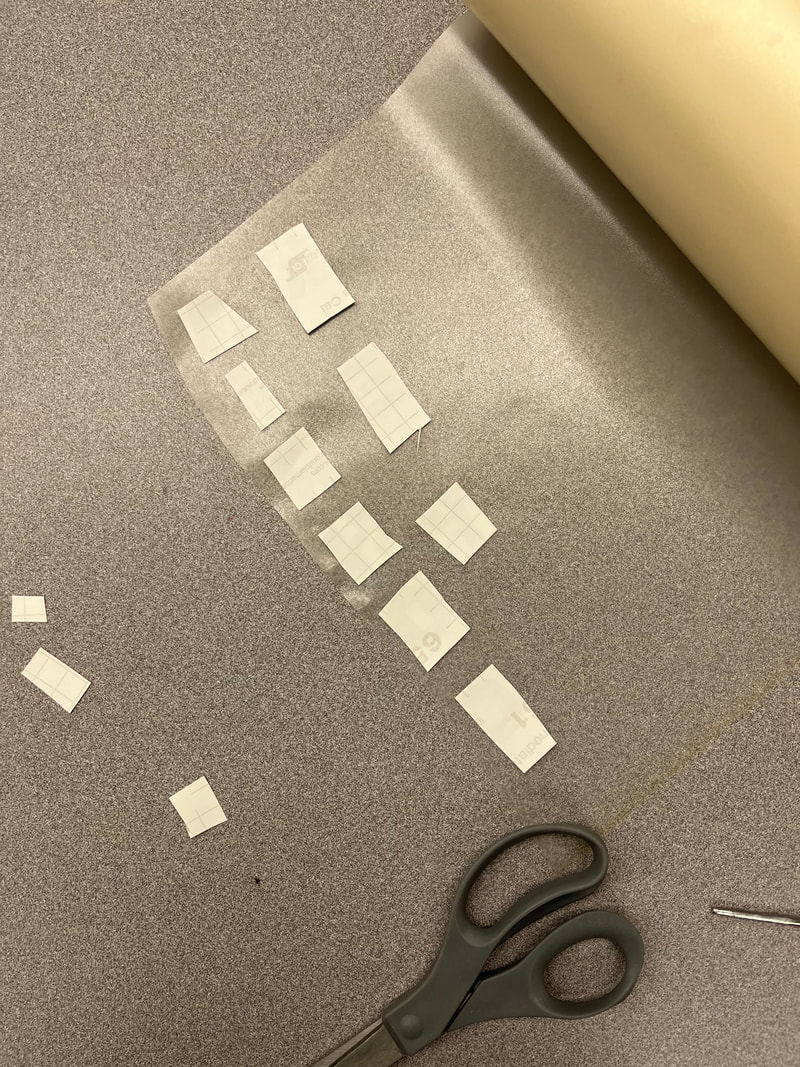
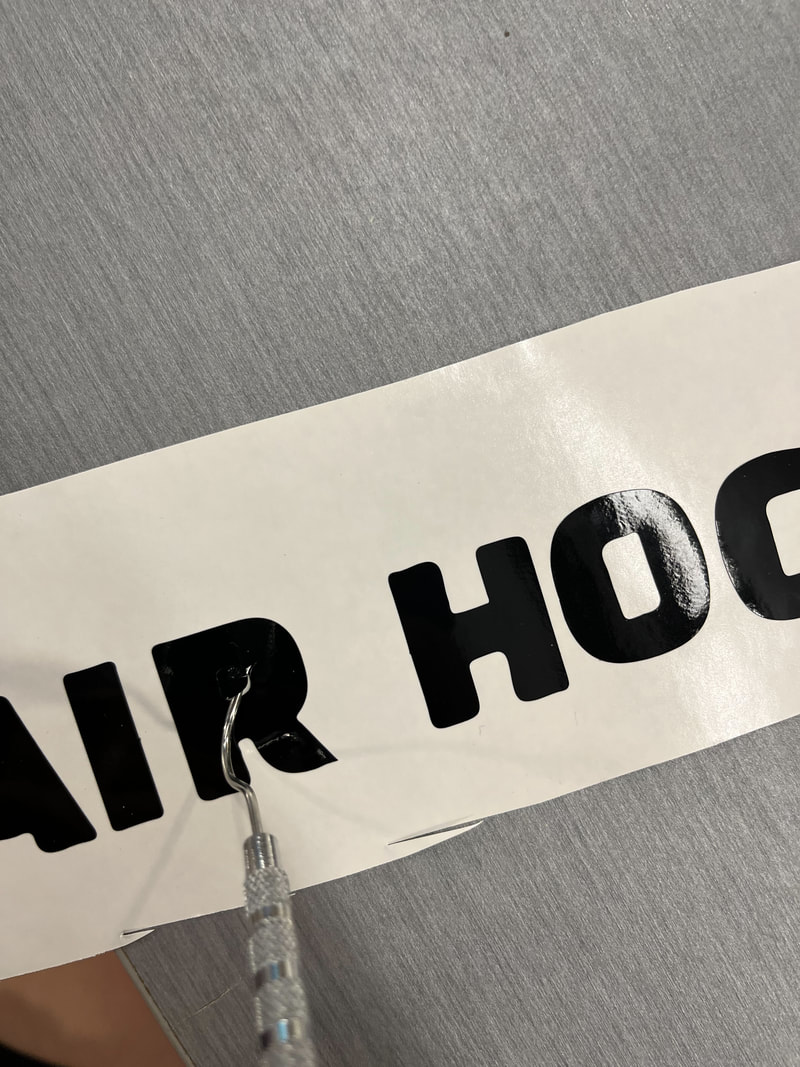
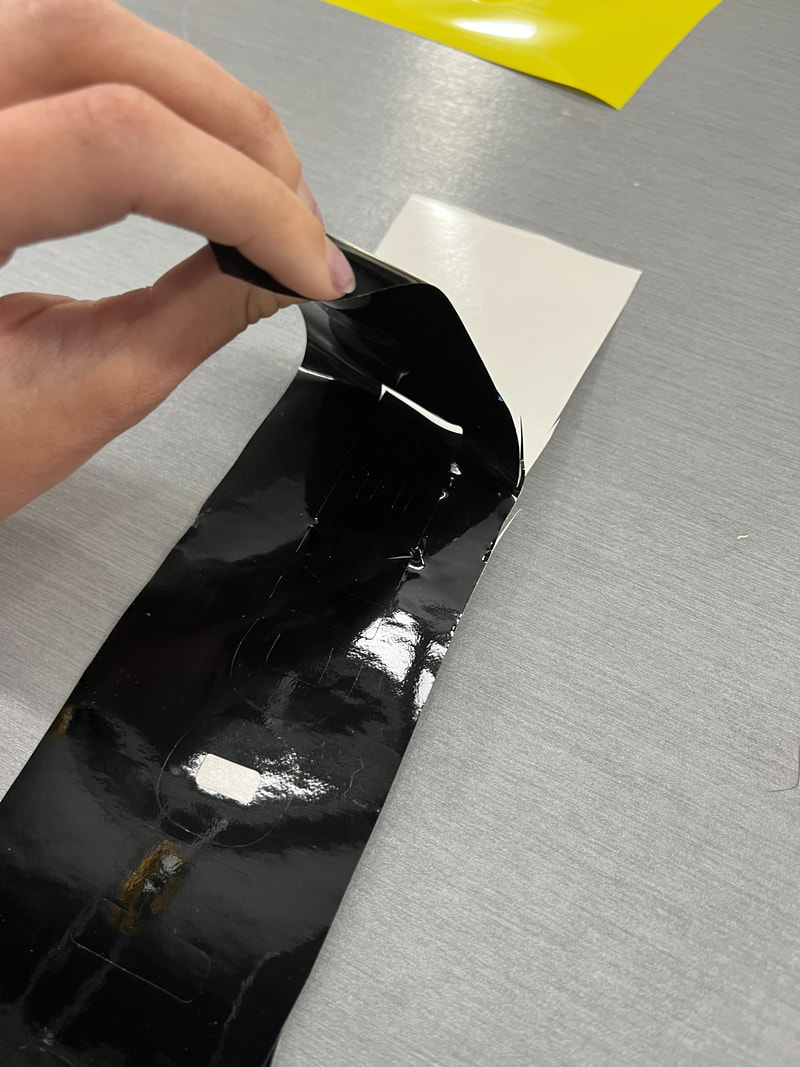
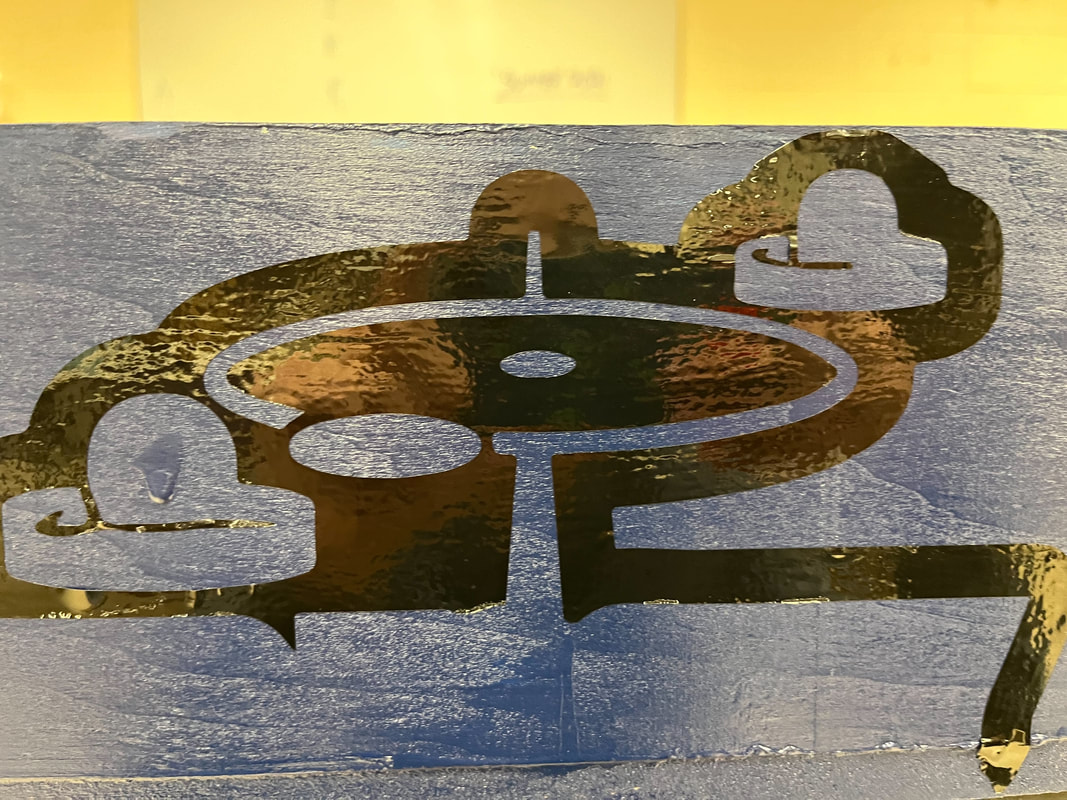
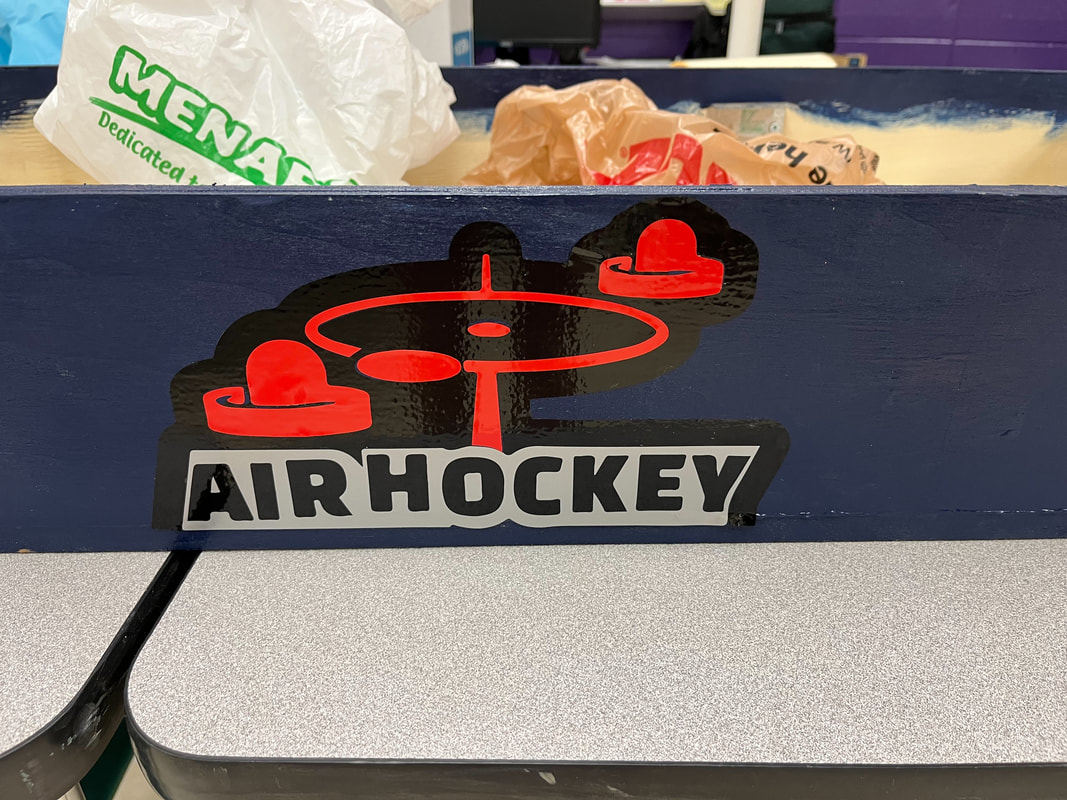
Vinyl video link: https://youtube.com/shorts/g5Sbi6XnpS8?feature=share
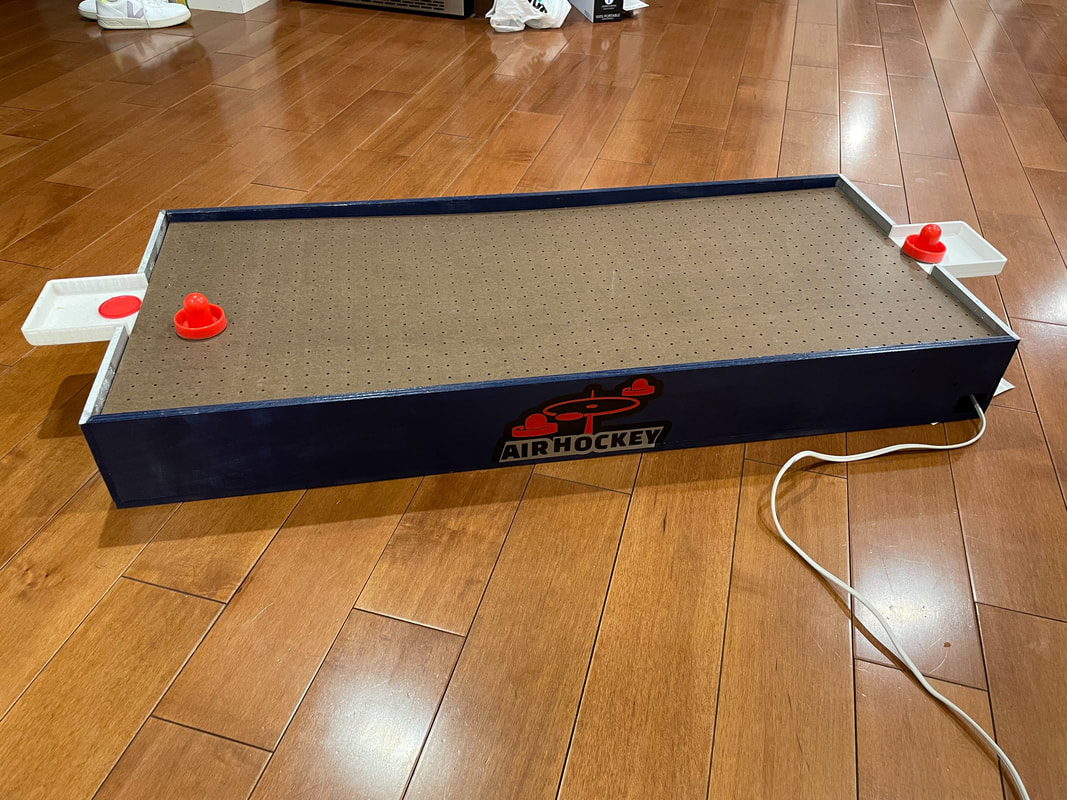
To make the table a little more interesting I put a decal on the side. For this I used the vinyl cutter as my third machine. I had some trouble sticking the vinyl to the wood so the bottom of the decal actually ripped. I also measured my decal wrong so the whole thing didn't fit. I ended up having to not put on the border and cut down the top a little bit.
Finished Product
Video link: https://youtu.be/zZ2LJ-I0gKo
|
|
|
While working on this project I learned a lot about time management. I am a huge procrastinator and tend to put things off until the last minute so this was a challenge for me. I learned that to manage your time wisely you need a plan; when you don't have a plan things end up taking more time than they should have. My base for example, I didn't need to route it because I would end up routing the top but I didn't think it through and ended up spending a lot of time on something that should have been done in a class period. I also learned about the importance of planning materials. I ended up making five runs to the hardware store that could have been done in two. This wasted class period that could have been spent working but I didn't have materials.
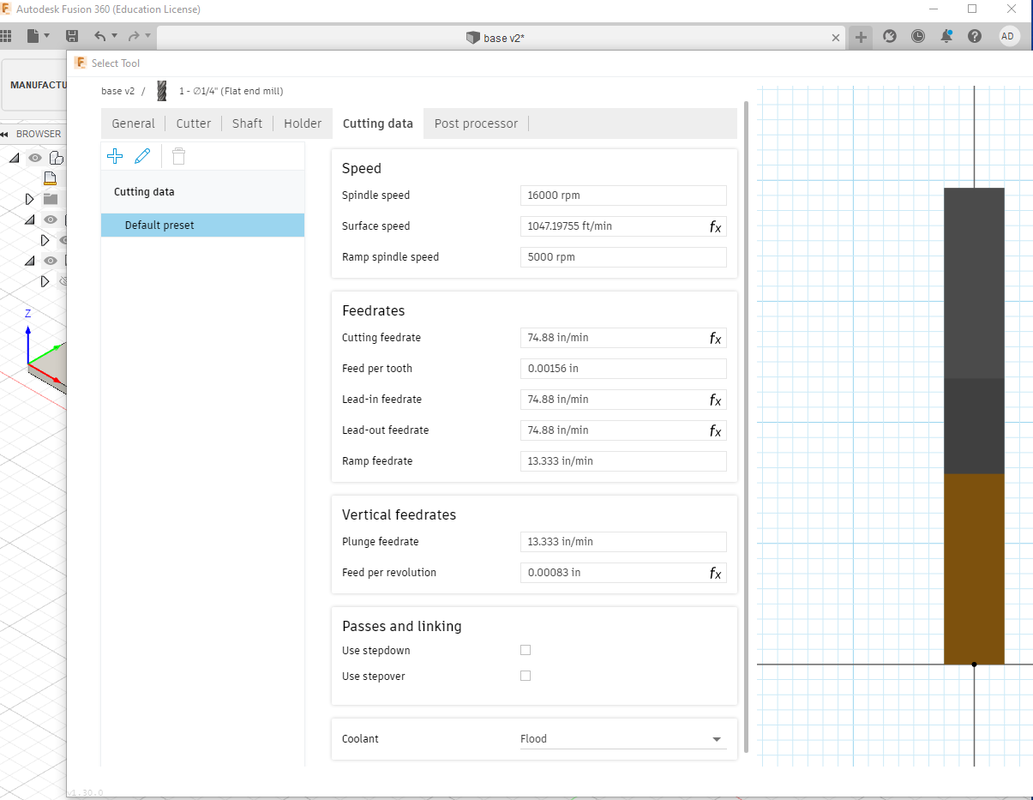
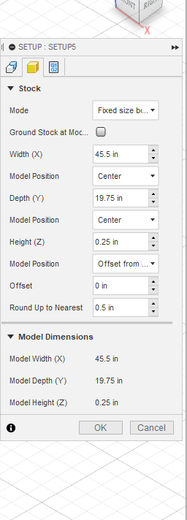
I also learned more about what the machines in the lab could do specifically the router. Before this class I didn't realize how many different things you can do in fusion. I specifically used to to drill my holes. In fusion there is a drill function that allows you to quickly make grids and patterns. It made making the top much quicker and with less manual labor. I also learned how to set up the router by using the jog to put it at the start point.
I also learned more about what the machines in the lab could do specifically the router. Before this class I didn't realize how many different things you can do in fusion. I specifically used to to drill my holes. In fusion there is a drill function that allows you to quickly make grids and patterns. It made making the top much quicker and with less manual labor. I also learned how to set up the router by using the jog to put it at the start point.
