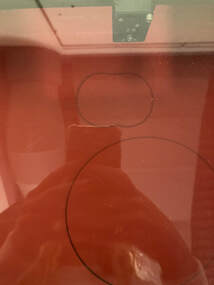
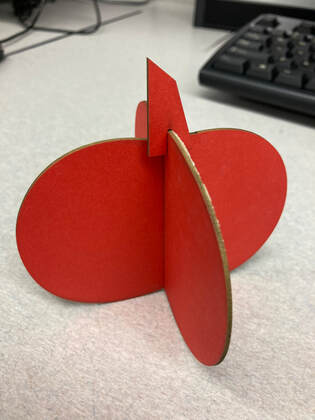
3D Object
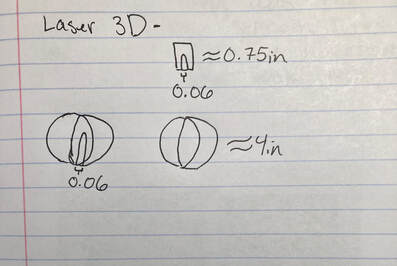
Sketch/Notes
Step-By-Step
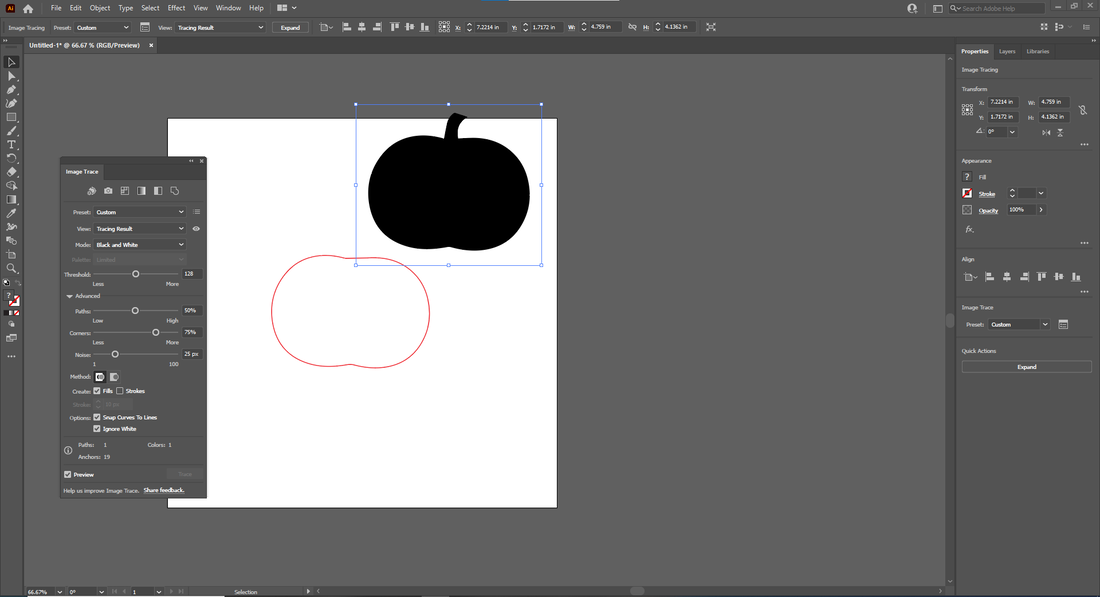
First I copied in a picture of a pumpkin, clicked on image trace, advanced, and ignore white. To make the image a vector.
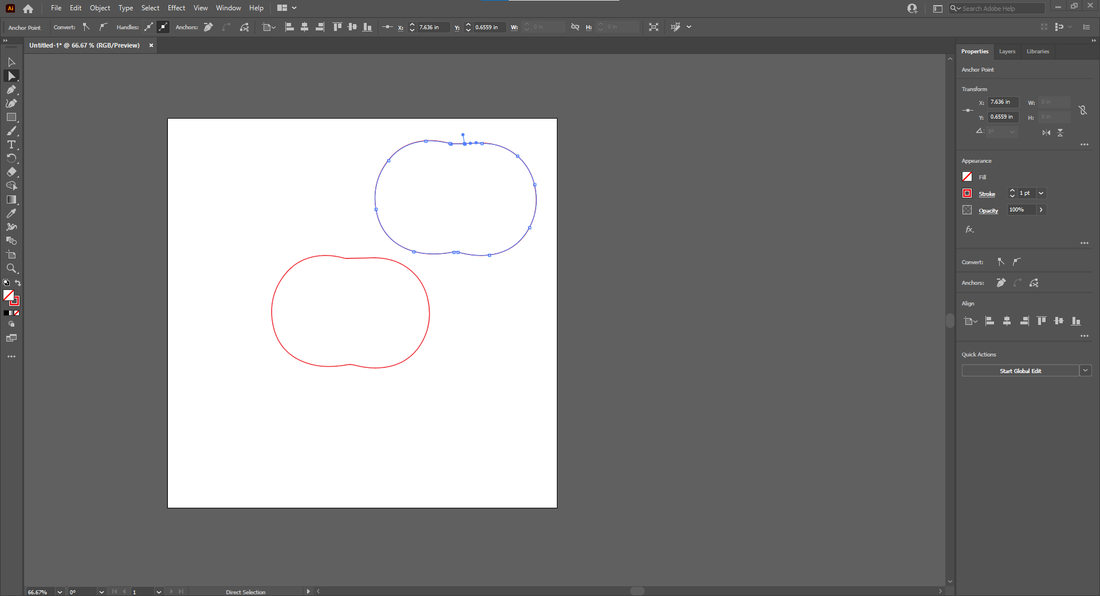
I closed the gap that deleting stem left. I did these last four steps twice to make two pumpkin pieces.
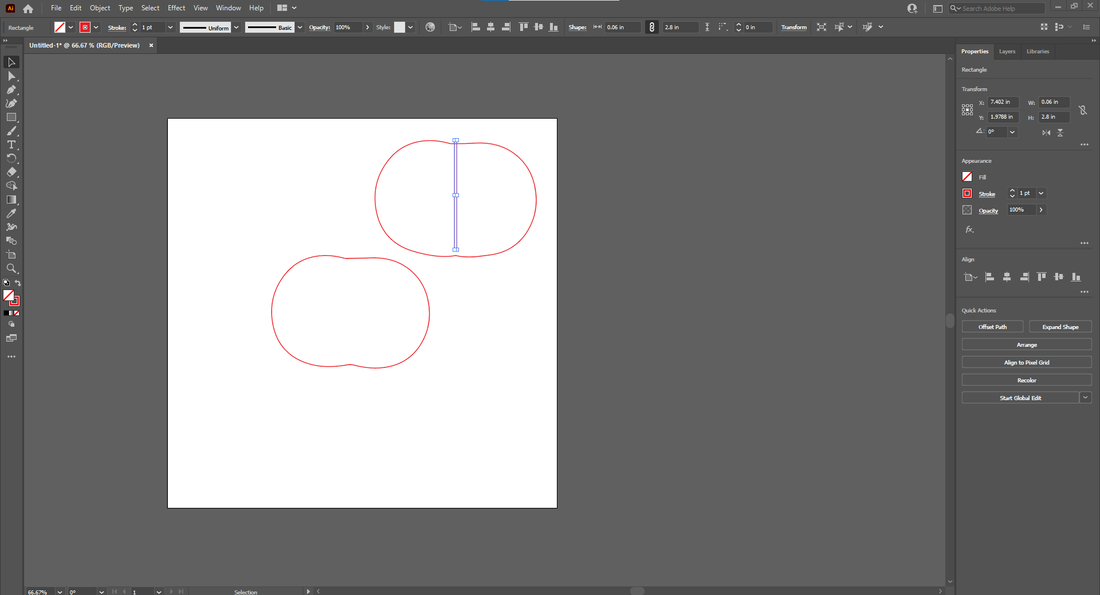
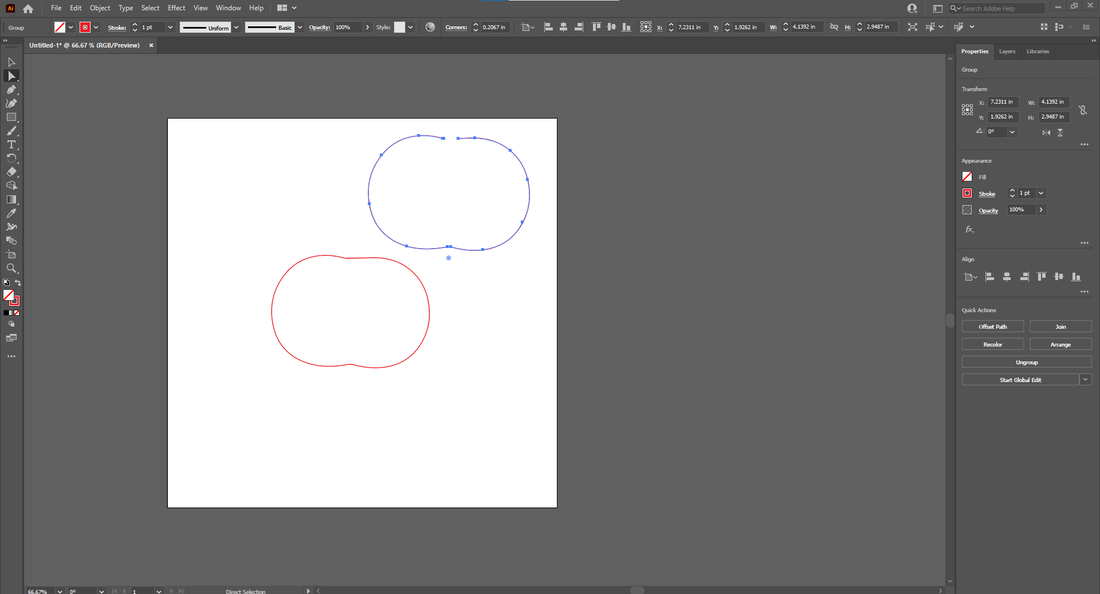
I used the points to make it a more stem like shape.
|

Then I used the points to delete the stem.
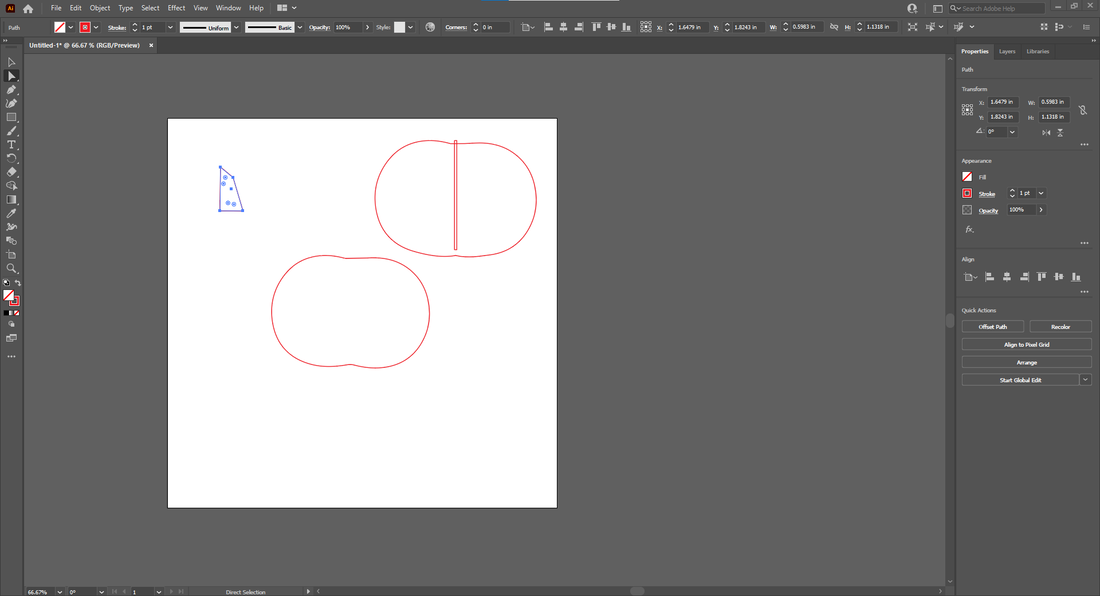
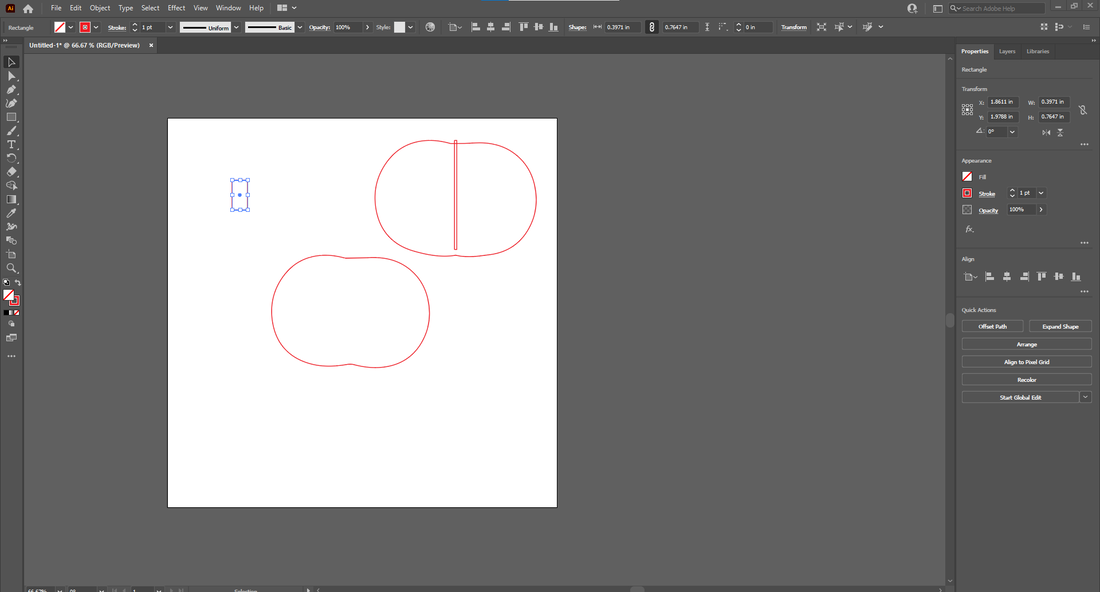
I made a rectangle that goes from the top of one of the pumpkins to just before the bottom of it, the rectangle is 0.06 inches wide. It is 0.06 inches wide because that is the thickness of the material I am cutting.

I added another 0.06 wide rectangle to the bottom of the stem.
|
I turned the fill color to none and the outline color to red so that the laser would cut it instead of engrave.
I copied in a rectangle and made it a vector, for the stem.
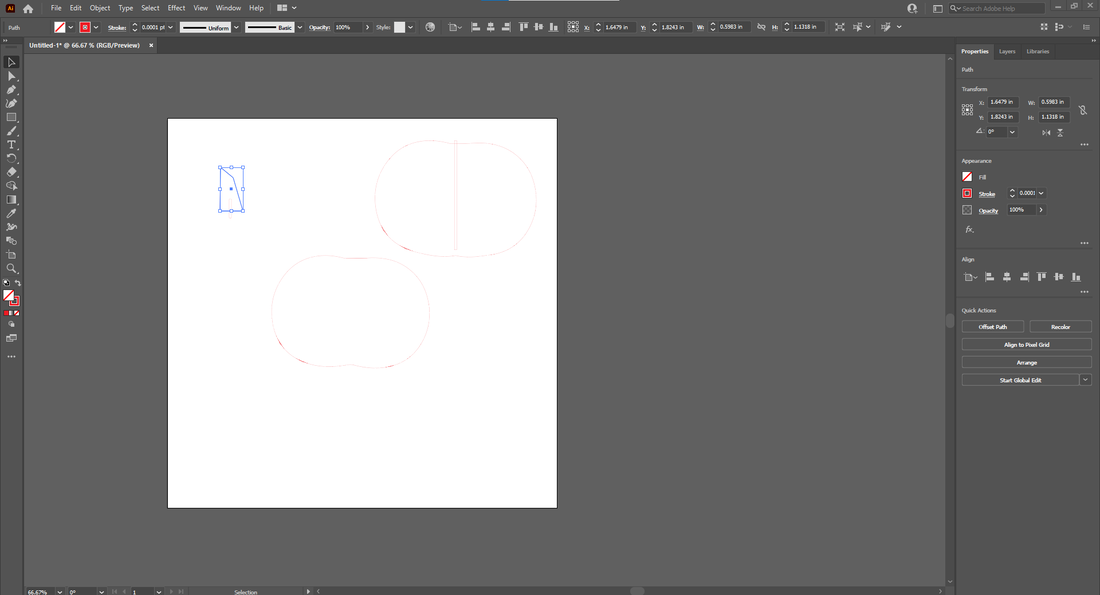
Finally I made all of the lines 0.001 inches thick, and I was done.
|
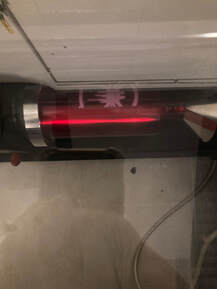
Laser and Final

|
|
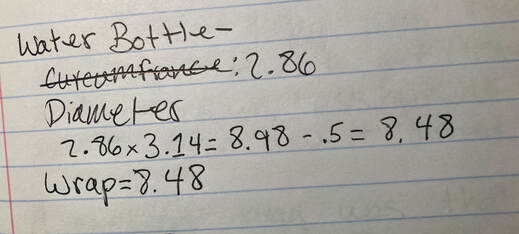
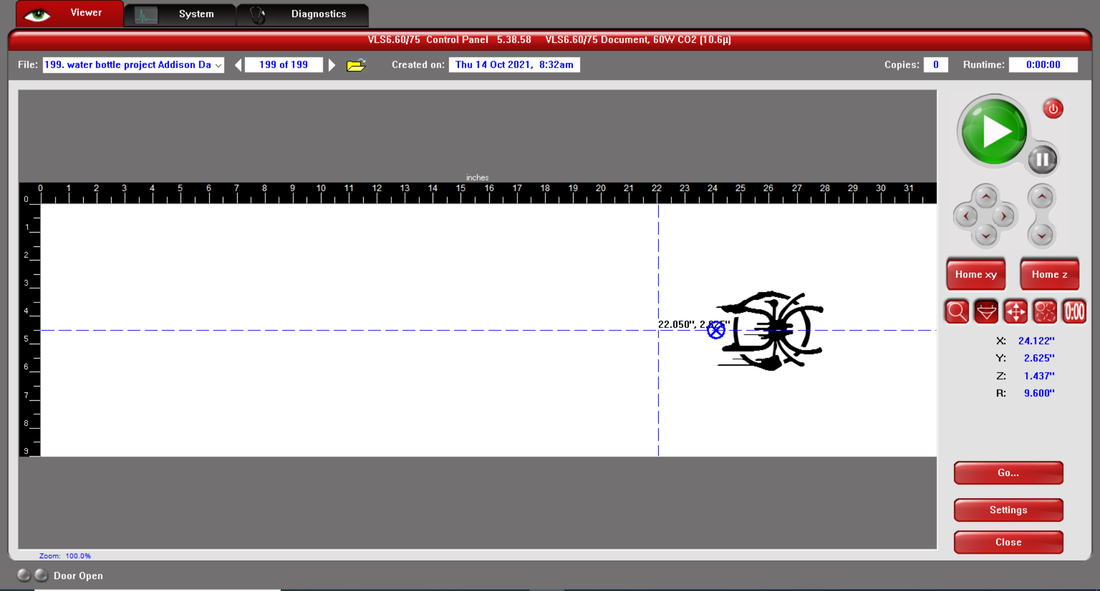
Water Bottle project
Notes
Step-By-Step
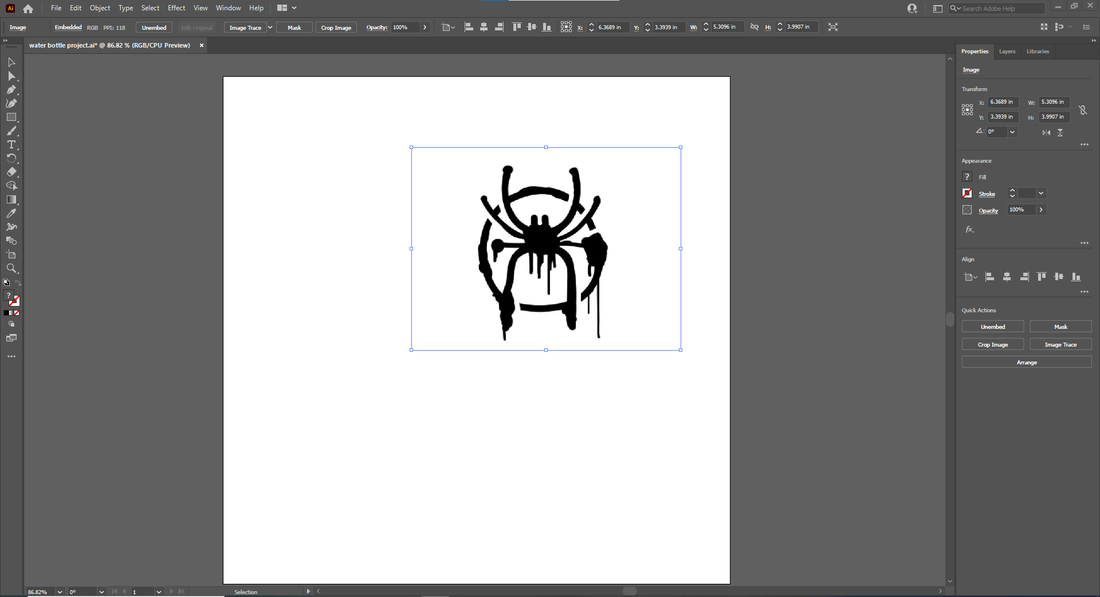
First I copied my image into illustrator and then made sure that the wrap would be no bigger than 8.48 inches so that it would fit on the water bottle.
|
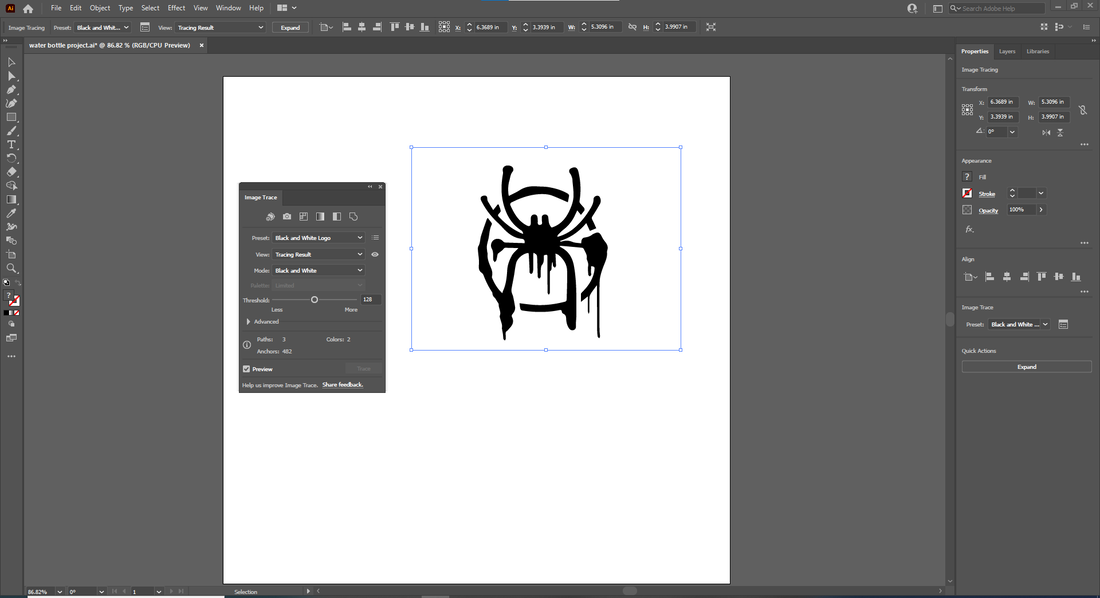
Then I clicked image trace at the top of the screen to make the image a vector.
|
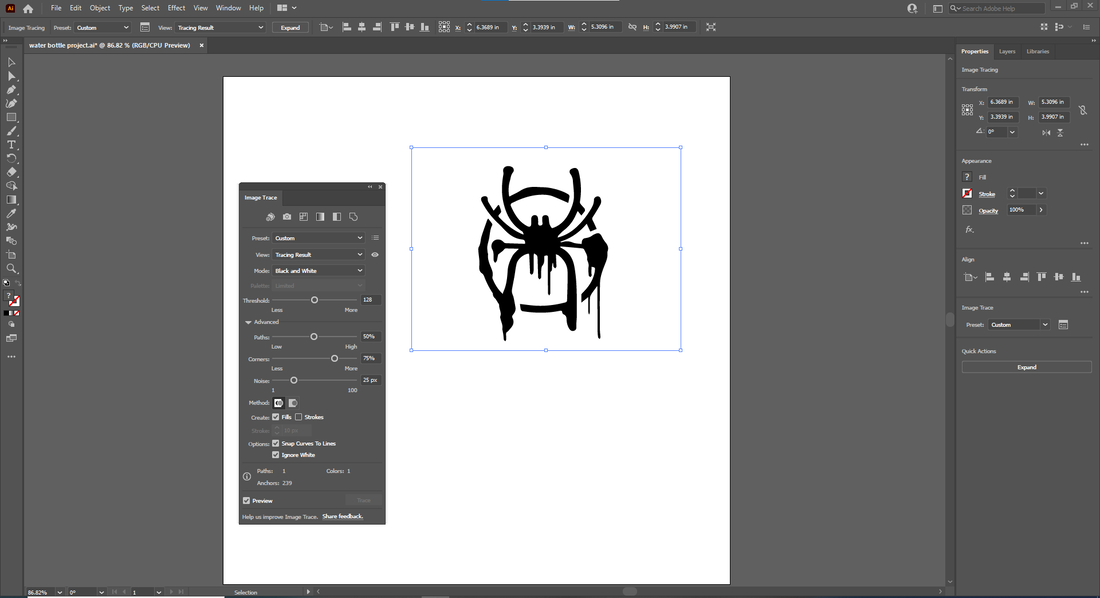
Finally I clicked advanced and ignore white to get rid of the white box around the design.
|
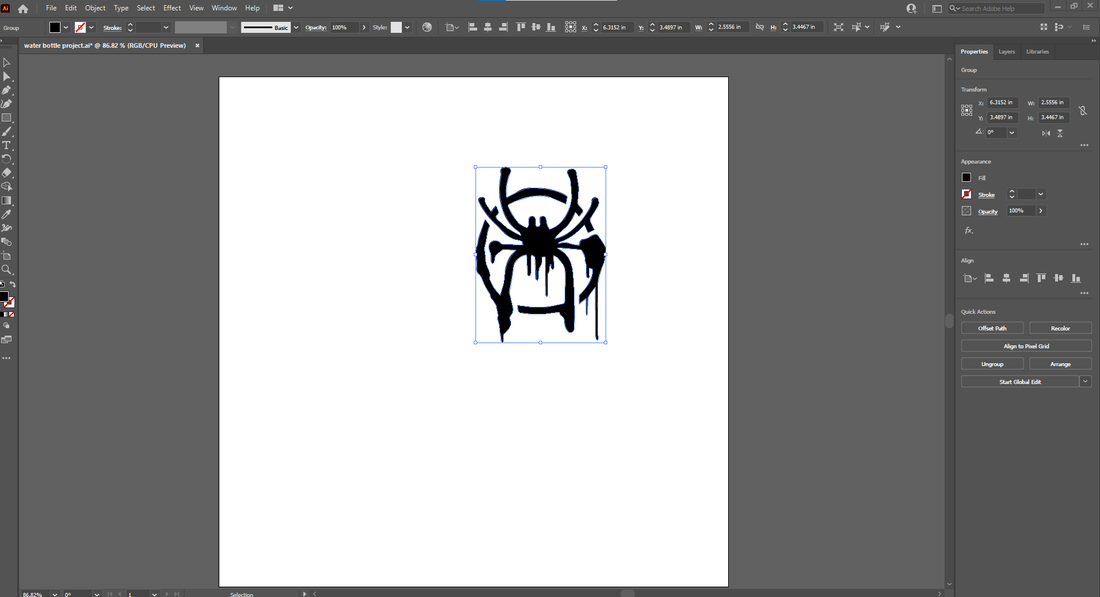
I left the design black so that the laser would engrave it, and I was done.
|
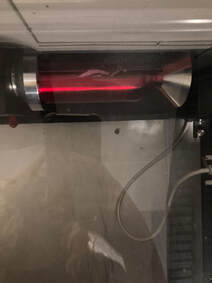
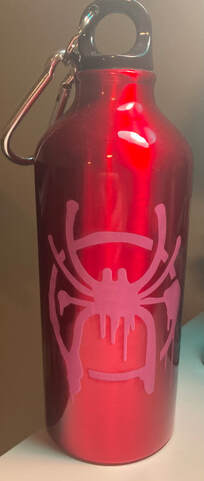
Laser and Final
|
|
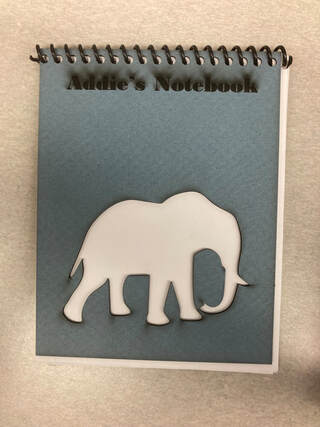
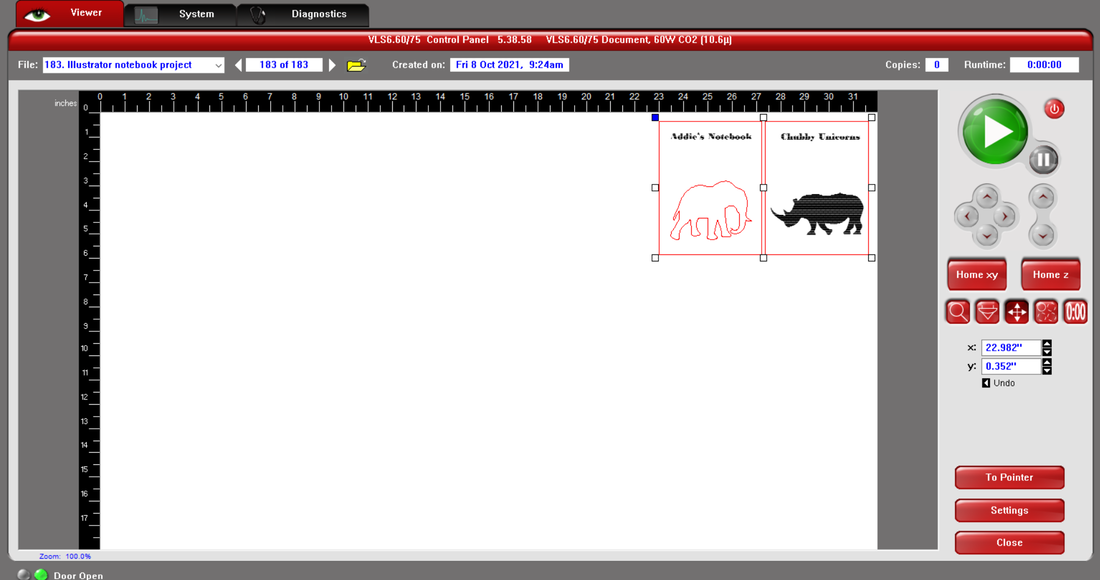
Notebook Project
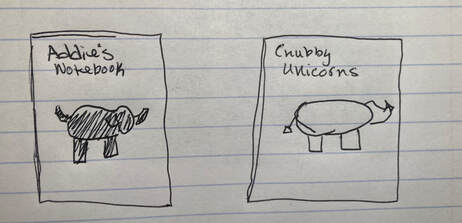
Sketch
Step-By-Step
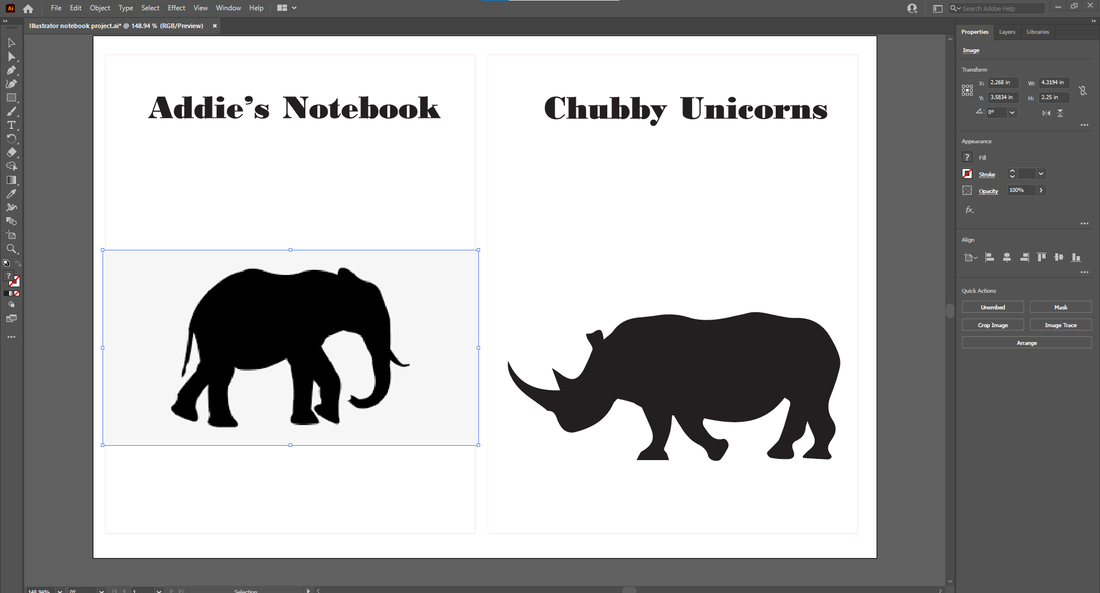
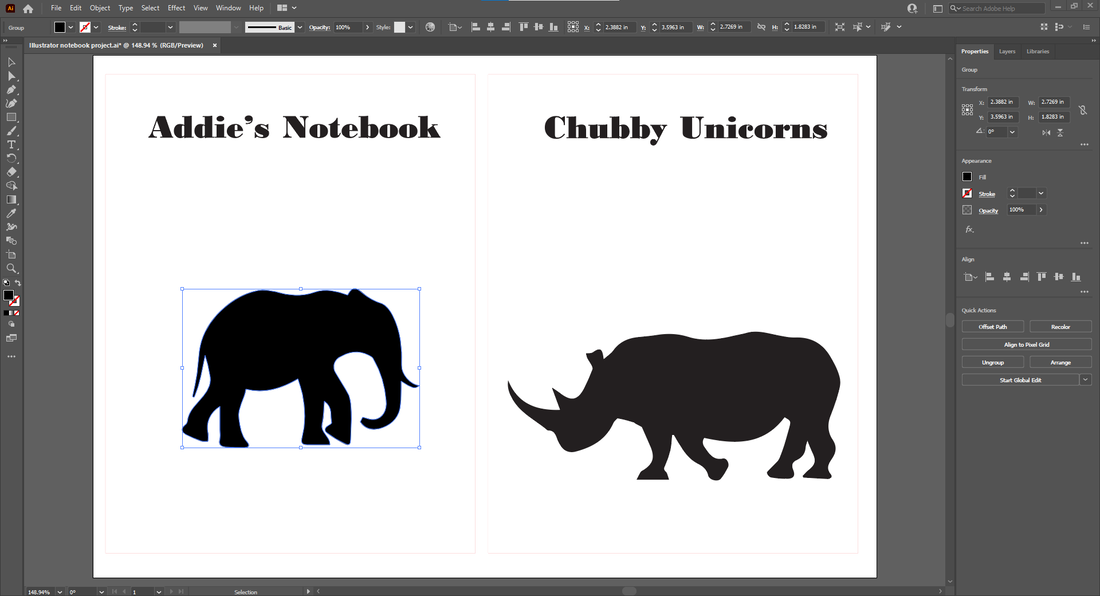
To make a elephant cut out first I copied in a picture of an elephant.

The final step to make the elephant cut out was to change the fill color to none, the border color red, and make the line thickness 0.001.
|
Then I clicked image trace, advanced, and ignore white to make the image a vector.
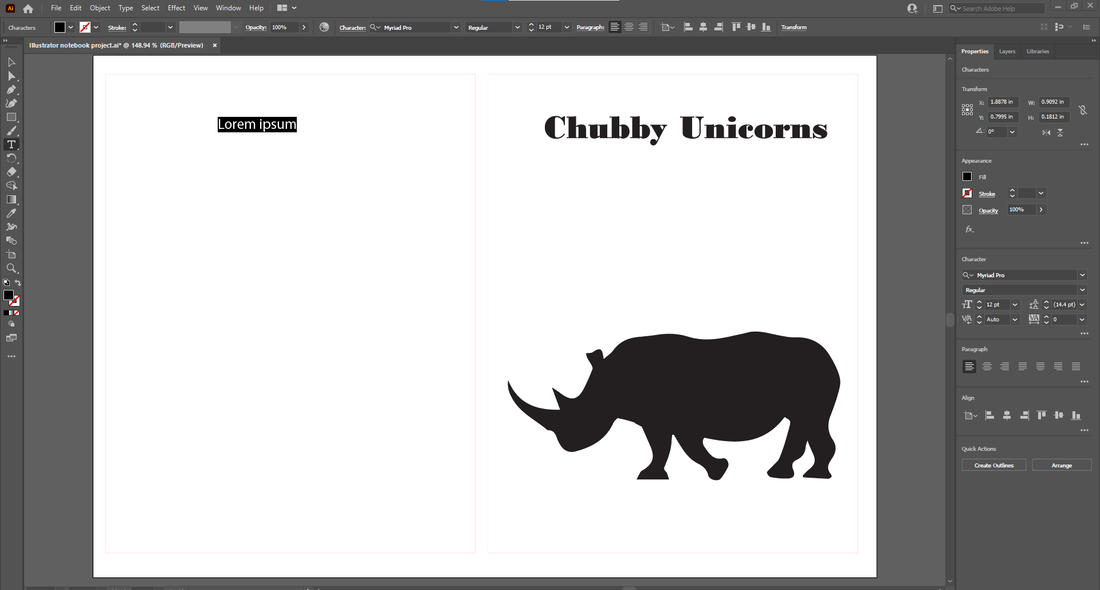
To make the text I clicked the text button on the side.
|
Then changed the text, font, and size to what I wanted. Finally I clicked create outlines to make the text a vector.
|
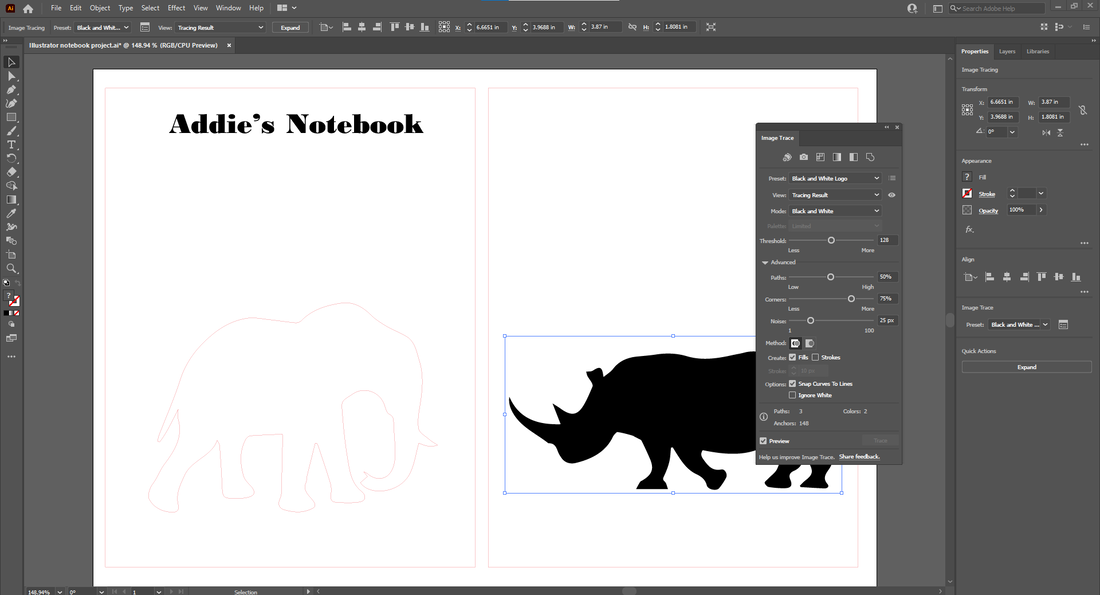
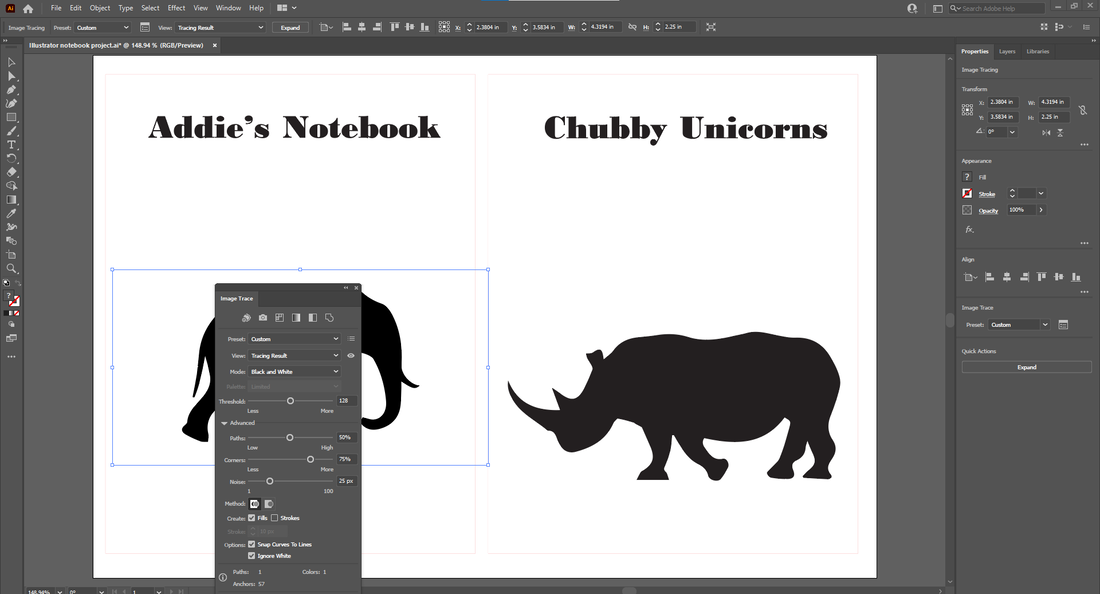
To get the rhino to be engraved I copied in a photo of of a rhino. Then I clicked on image trace, advanced, and ignore white to make the image a vector.
|
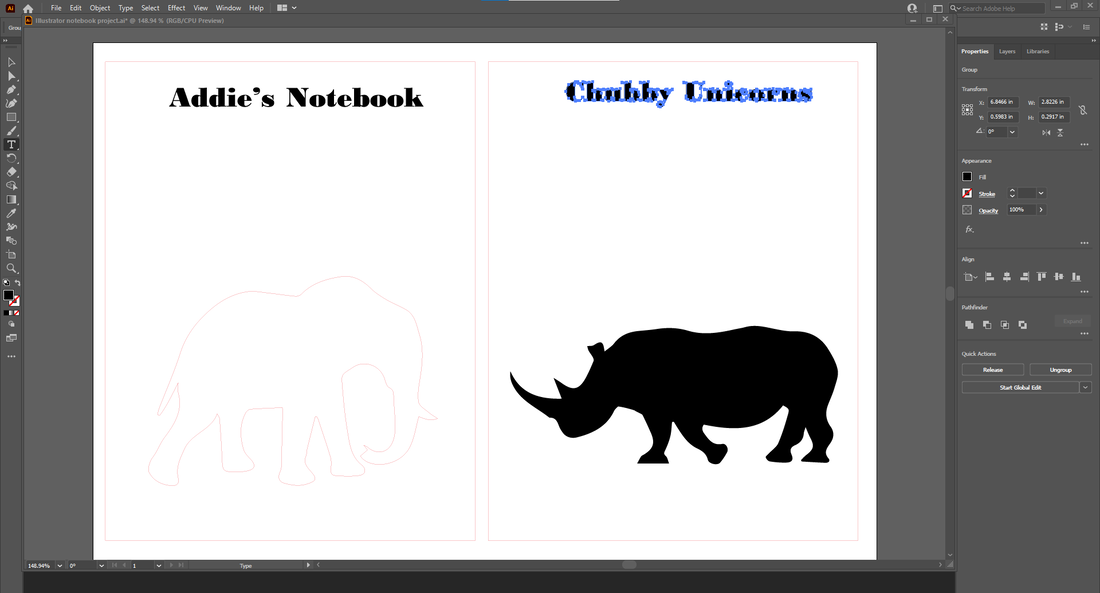
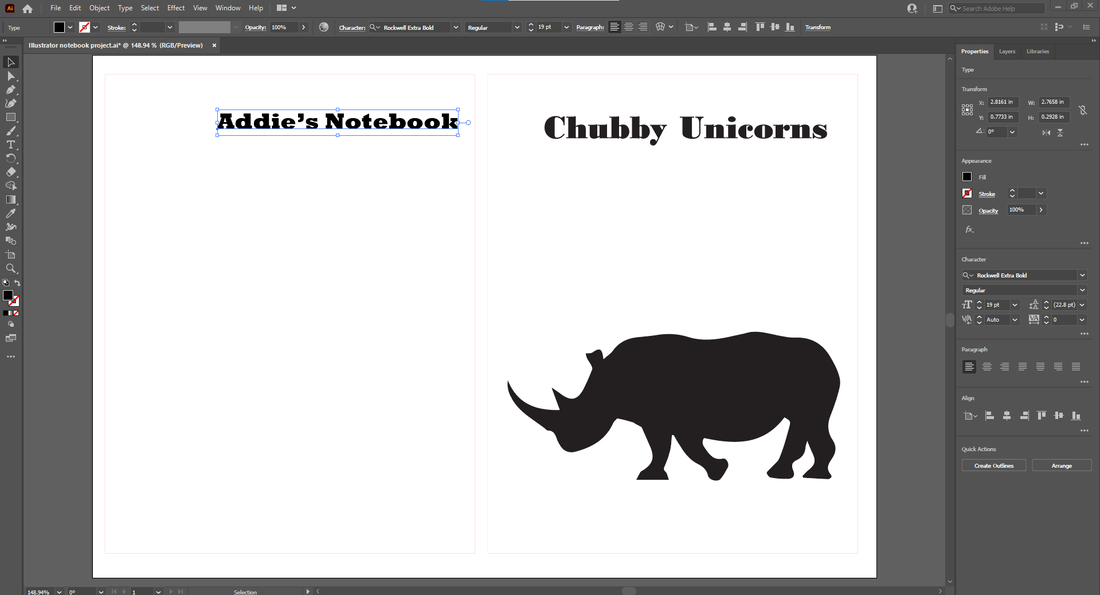
For the second text I clicked on the text button, changed the text, font and size to what I wanted. Then clicked create outlines.
|

Then I was done.
|
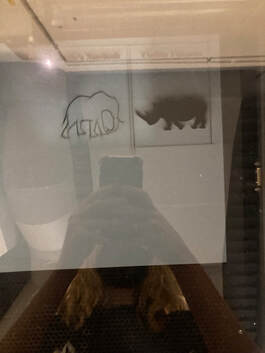
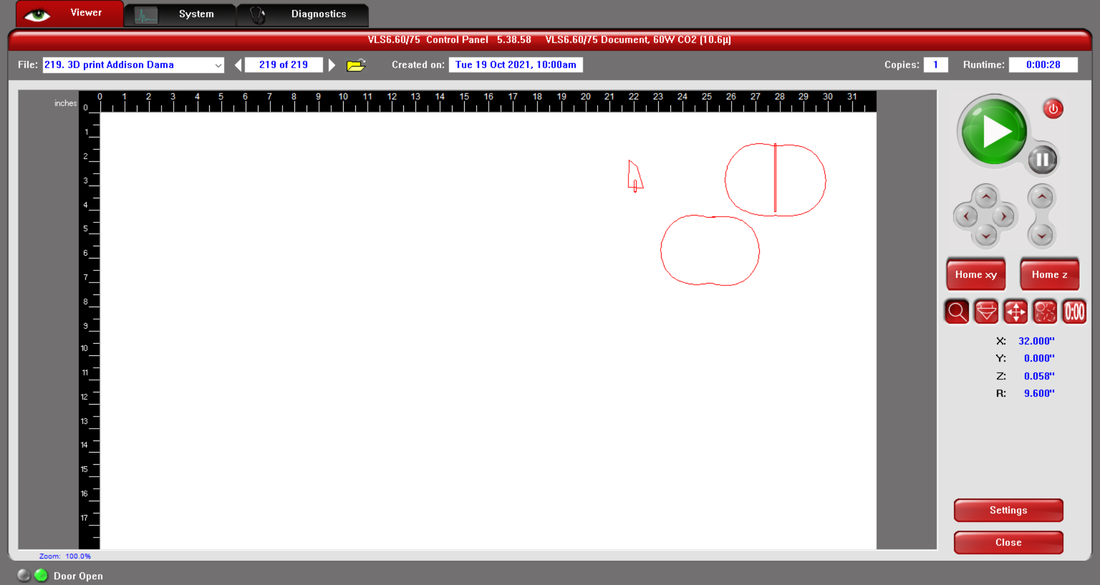
Laser/Final
|
|
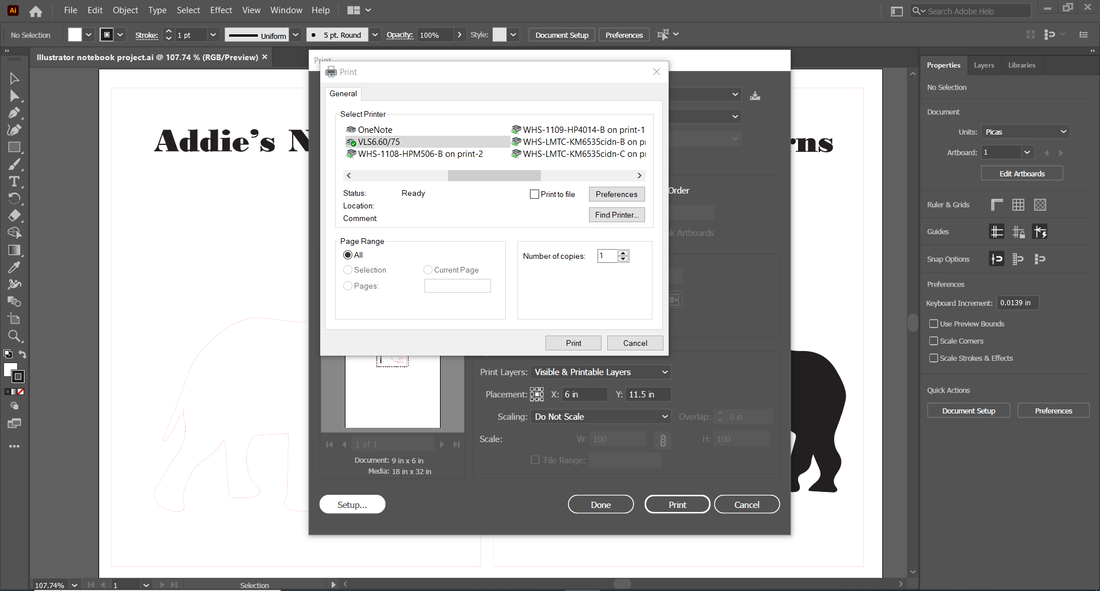
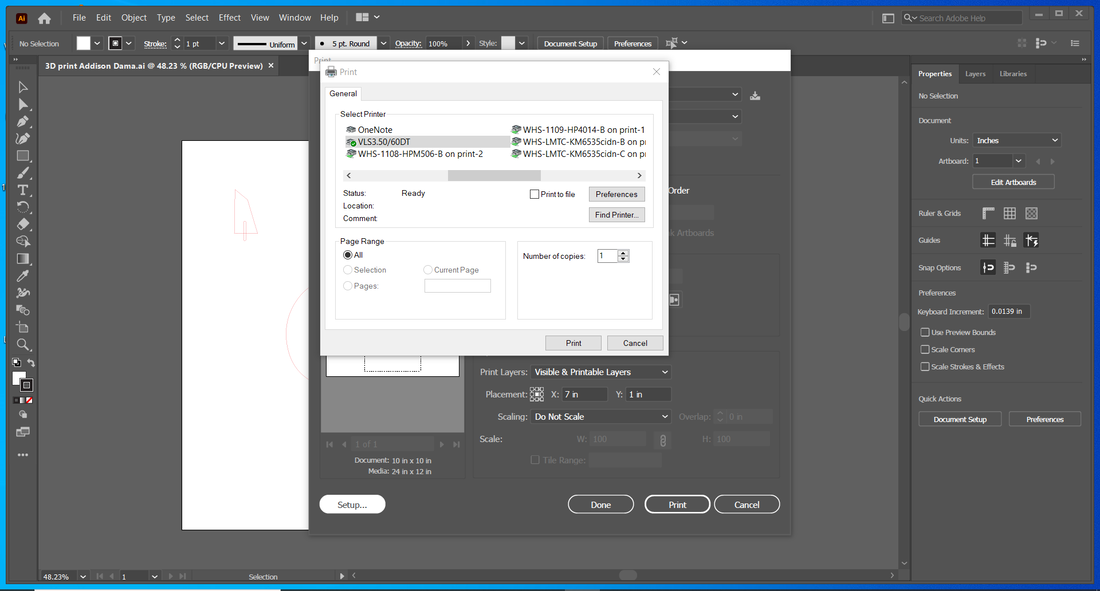
Printing/UCP
|
|
|
|
|
What I Learned
In this rotation I learned how important the pre sketches and notes are because you sometimes need to make sure that your design will fit, and get dimensions for some things. I also learned that you can move the points of a vector around. That is how I made the stem and pumpkin pieces in my 3D object. Another thing I learned is that you need to make sure you measure the thickness of your material exactly or else something might go wrong.
